 Plantico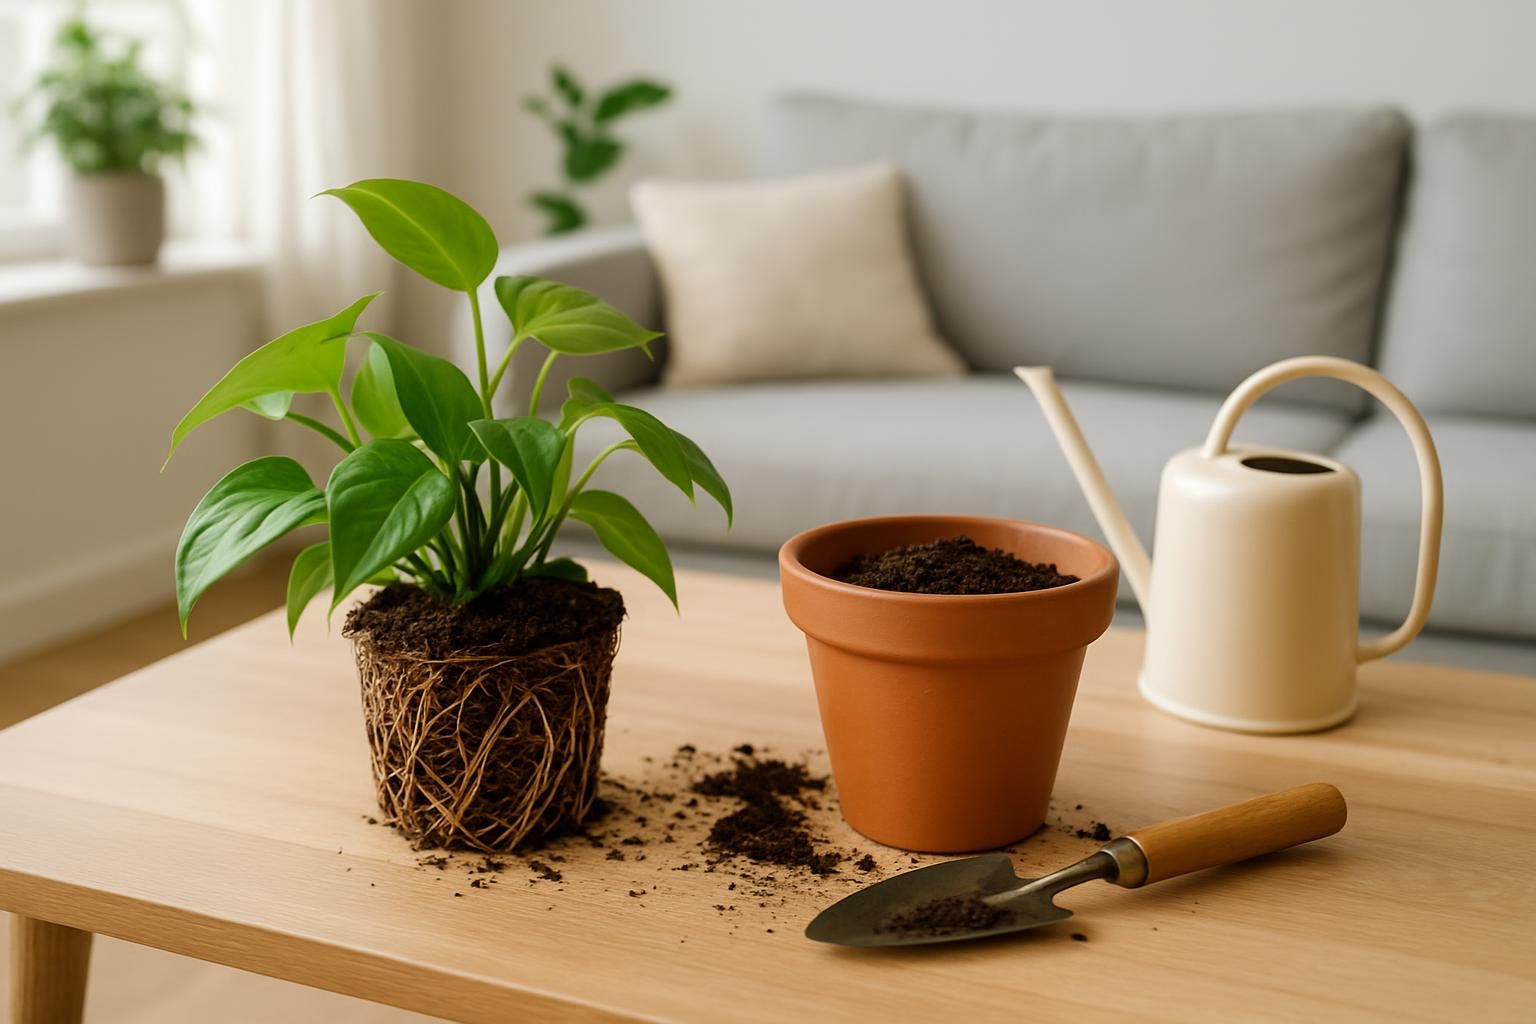
When a plant becomes rootbound, its roots circle the inside of the pot and pack so tightly that water and air struggle to reach the center of the root ball. You may notice water racing through the pot, faster wilting, and stalled growth. Repotting solves this by giving the roots new space and fresh mix, but doing it carelessly can stress the plant. Use this step-by-step guide to repot cleanly, choose the right pot and soil for your species, and keep recovery smooth.
How to Tell If Your Plant Is Rootbound
Before you reach for a new pot, confirm the plant is truly cramped. Many houseplants like to be slightly snug, but “tight” is different from “strangled.” Check for these signs:
- Roots poking out of drainage holes or circling the soil surface
- Soil dries within a day or two after a thorough watering
- Water runs straight through the pot and out the bottom
- Pot walls bulge or have hairline cracks (plastic pots)
- Stalled growth in the growing season despite proper light
- Lower leaves yellowing while new leaves stay small
To confirm, slide the plant out of the pot. Support the base, tip the pot, and tap the rim against your palm or a padded surface. If you see a dense mat of roots in a pot-shaped cylinder with very little free soil, it is rootbound. If you are unsure what species you have (and how snug it prefers to be), you can identify a plant from a photo first. Knowing the species will help you choose the right mix and pot size.
Pick the Right New Pot and Soil
Choosing the correct container and mix matters as much as the act of repotting. Aim for a pot that is modestly larger, not huge. A big pot holds extra water the roots cannot use quickly, which can lead to rot.
- Size: Pick a pot roughly 2–5 cm wider in diameter than the current one. Very slow growers and succulents may only need a small size bump; vigorous tropicals can take a bit more.
- Drainage: Always choose a pot with a drainage hole. If using a decorative cachepot, keep the nursery pot inside or add a layer so the inner pot can drain freely.
- Material: Terracotta breathes and helps the mix dry faster (great for succulents and snake plants); glazed ceramic or plastic retain moisture longer (useful for thirstier foliage plants).
- Soil: Match the mix to the plant family. Aroids (Monstera, Philodendron) like a chunky, airy mix with bark or perlite. Snake plants and other succulents prefer a gritty, fast-draining mix. Calatheas need a rich mix that drains but does not become dusty-dry. Orchids want bark-based media, not potting soil.
Lightly moisten your fresh mix before you begin so it is evenly damp but not wet. Pre-moistened mix settles more predictably around the roots.

Free the Roots and Prune Wisely
Water the plant the day before repotting to reduce stress and make the root ball easier to work with. Then:
- Gently remove the plant from its pot. If roots cling, squeeze a plastic pot or slide a butter knife between soil and pot wall to release it.
- Massage the root ball to loosen the outer layer. Tease apart circling roots so they point outward. Work patiently; breaking a few fine roots is normal.
- Trim roots that are clearly dead (brown, mushy, or hollow). Keep healthy, firm roots. For plants with a thick mat of circling roots, clip a few long loops to interrupt the circle and encourage outward growth.
- Disinfect shears before and after with isopropyl alcohol to avoid spreading disease.
Most houseplants only need light root pruning. More aggressive root trimming is reserved for woody plants that can tolerate it (for example, mature ficus), and even then, do it sparingly to avoid shock. If you plan to divide a clumping plant like a snake plant or peace lily, separate the clumps cleanly so each division has roots and shoots.
Repot Step by Step
- Cover the drainage hole with a mesh or a shard to keep mix in while allowing water out (optional but helpful).
- Add a layer of fresh mix to the bottom so the plant will sit at the same height it did before. The crown should not be buried.
- Place the plant in the center. Spread the loosened roots outward and downward.
- Backfill around the sides with fresh mix, tapping the pot to settle soil into gaps. Do not pack the mix hard; firm it gently with your fingers.
- Leave about 1–2 cm of headspace at the rim for easy watering.
- Water thoroughly until you see steady runoff. Let it drain fully and discard any water that collects in the saucer.
- Top up with a bit more mix if watering opened voids. Add a stake or moss pole now if needed, pressing it into the pot edge to avoid piercing the main root mass.
Aftercare: Reduce Shock and Reset Watering
Right after repotting, plants appreciate a calm environment while they re-establish fine feeder roots. Give them:
- Light: Bright, indirect light for a week or two. Avoid direct midday sun until you see new growth.
- Water: Let the top 2–3 cm of mix dry before watering again for most foliage plants. Succulents and snake plants should dry deeper. If you are unsure, review how often to water houseplants.
- Humidity: A bit more humidity helps many tropicals. Group plants or place the pot on a pebble tray. Avoid misting if leaves are prone to spotting.
- Feeding: Wait about a month before fertilizing. Fresh mix contains nutrients, and new roots are sensitive.
- Stability: Keep temperatures steady and drafts minimal for the first couple of weeks.
Consider setting gentle care reminders in Plantico so you can track drying time and watch for the first signs of new growth after repotting.
Special Cases by Plant Type
- Monstera and other aroids: Use a chunky, airy mix (potting soil blended with bark and perlite). A modest pot size increase is enough. Add a support pole when repotting.
- Snake plant (Sansevieria): Choose a gritty, succulent mix and a pot that is only slightly larger. Allow the mix to dry most of the way between waterings after the first drink.
- Fiddle-leaf fig and other ficus: They dislike oversized pots. Step up just one size. Keep them in bright, stable light to minimize leaf drop.
- Pothos and vining philodendrons: They forgive minor root damage. An airy, well-drained mix prevents soggy roots and keeps growth fast.
- Hoya: Prefer small pots and very airy mixes with bark or perlite. Resist the urge to size up more than necessary.
- ZZ plant (Zamioculcas): Rhizomes store water; use a fast-draining mix and a snug pot. Overpotting can keep the mix wet too long.
- Calathea and prayer plants: Use a rich, peat-free or coco-based mix with perlite for drainage. Keep evenly moist but never waterlogged as they settle.
- Orchids (epiphytes): Repot into fresh bark, not soil. Trim dead, papery roots and keep living roots snug but not crushed.
- Cacti and succulents: Only repot during active warmth and light. Use a mineral-heavy mix and let the mix dry thoroughly before the next drink.
Troubleshooting After Repotting
Some stress after repotting is normal, but it should be mild and brief. Here is what to watch and what to do:
- Wilting or drooping: Check drainage. If the mix is soggy, move to brighter indirect light and increase airflow. If dry, water thoroughly and ensure full runoff.
- Yellowing lower leaves: A few can be normal as the plant reallocates resources. If it spreads, review light, watering, and pot size. See more on why leaves turn yellow.
- Leaf drop (especially ficus): Keep the plant in consistent light and avoid moving it. New leaves should follow once roots settle.
- Soil staying wet for days: The pot may be too large or the mix too dense. Let it dry longer between waterings and add more aeration (perlite, bark) next time.
- Browning edges after repotting: Can be underwatering, low humidity, or fertilizer burn if you fed too soon. Flush the pot with water and pause feeding for a while.
If you suspect disease rather than transplant stress (for example, spreading lesions, fuzzy growth, or a foul smell from the soil), isolate the plant and reassess your care routine. When in doubt, identify the species and review its preferred soil and pot sizing before attempting another repot.
Conclusion
Repotting a rootbound houseplant is straightforward when you keep changes modest and match the mix to the plant. Loosen circling roots, size up just enough, water in well, and give steady, bright conditions while new roots grow. With calm aftercare and tuned watering habits, most plants rebound quickly and reward you with healthy new leaves and steady growth.