 Plantico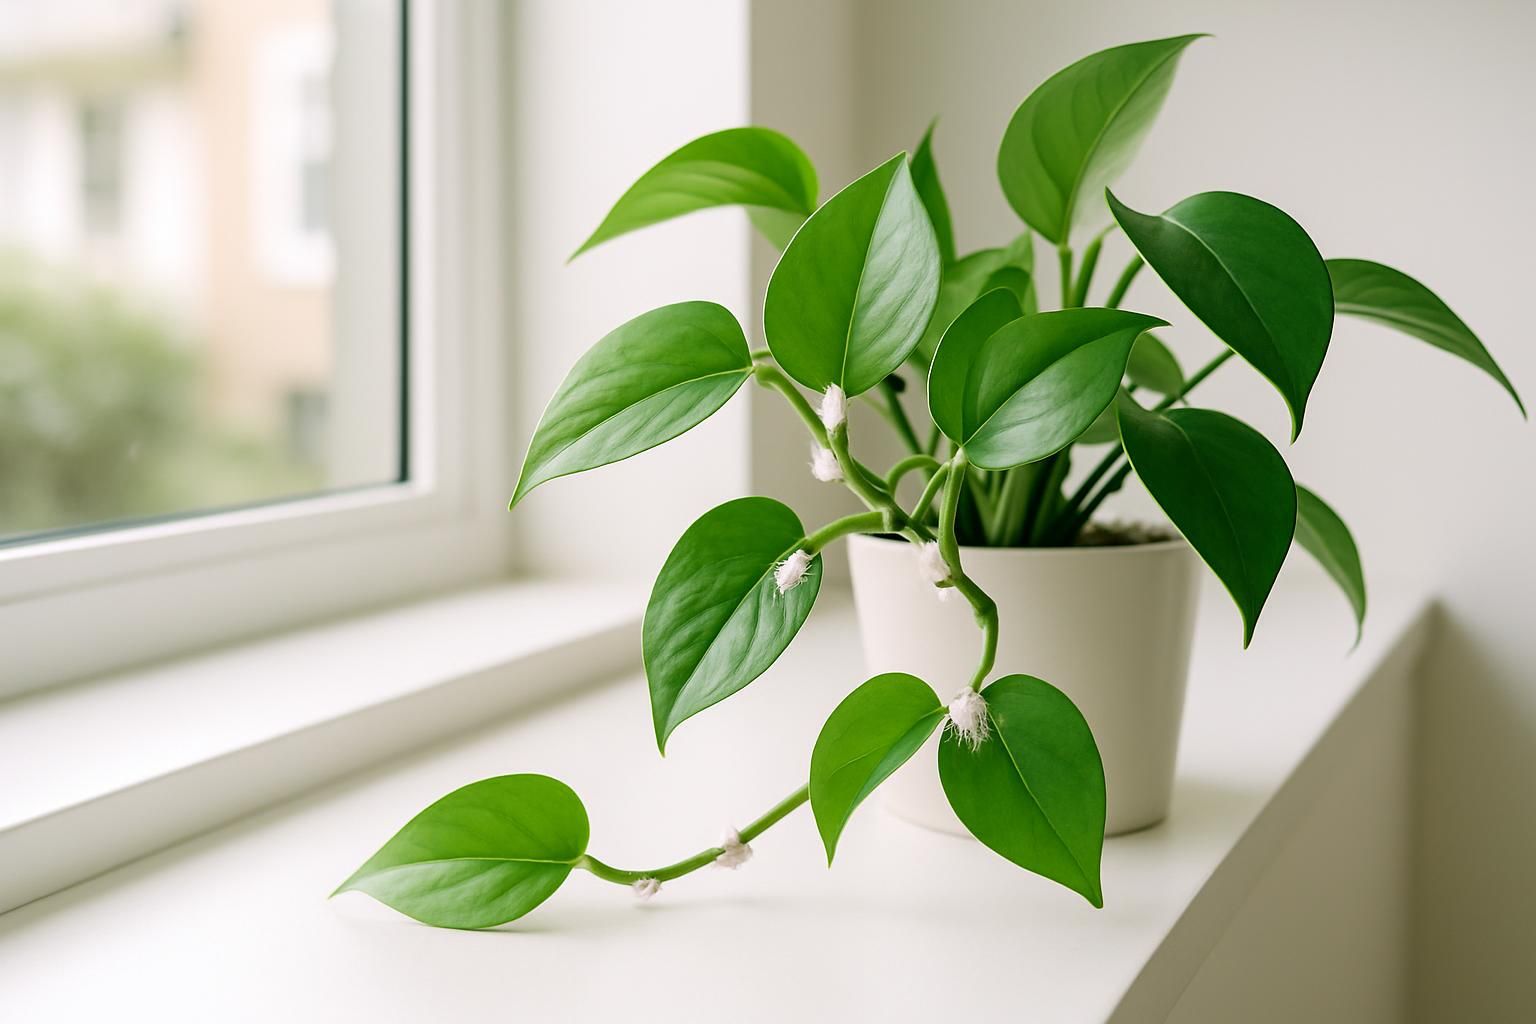
White, cottony specks that spread from leaf joints to new growth. Sticky leaves, yellowing, and a general decline in vigor. If this sounds familiar, your plant likely has mealybugs. The good news: you can remove them and keep them away with a careful, repeatable process. This guide walks you through containment, removal, safe treatment by plant type, and how to break the mealybug life cycle so your plant rebounds.
What Mealybugs Look Like (And What They Do)
Mealybugs are soft-bodied insects covered in a white, cotton-like wax. You’ll most often find them in leaf axils (where leaf meets stem), along stems, on new growth, under leaves near major veins, and sometimes on roots. Common signs include:
- White cottony clusters on stems and at nodes
- Sticky residue (honeydew) on leaves and nearby surfaces
- Sooty mold (a black film) that grows on honeydew
- Deformed or stunted new growth
- Yellowing or dropping leaves from repeated sap loss (see why plants leaves turn yellow)
If you’re unsure whether you’re seeing mealybugs or scale, look for legs and soft bodies when you nudge them with a toothpick—mealybugs are mobile, while scale insects are more fixed. Plantico can help you confirm the pest from a quick photo, and if you don’t know your plant’s species, you can also identify a plant from a photo so you can check product labels for compatibility.
Quick Containment Checklist
Act fast to stop spread and make treatment easier:
- Isolate the infested plant away from others immediately.
- Move to a sink, tub, or shower for easy rinsing and cleanup.
- Lay down newspaper or a tray to catch run-off and dislodged pests.
- Reduce stress: place the plant in bright, indirect light; avoid direct sun during treatment days.
- Hold fertilizer until the infestation is under control; lush growth feeds pests.
- Clean nearby surfaces with soapy water to remove honeydew and stray crawlers.
- Check neighbors within a 1–2 m radius for early signs.

Step-by-Step: Remove Mealybugs Today
- Pre-rinse to dislodge: Use a gentle spray of lukewarm water to wash leaves and stems, focusing on leaf axils and undersides. This reduces the population and makes targeted removal faster. Avoid blasting delicate plants; use the softest setting or a handheld sprayer.
- Spot treat with isopropyl alcohol (70%): Dip cotton swabs in alcohol and dab each mealybug cluster until saturated. The alcohol dissolves their protective wax. Work methodically from top to bottom, outside to inside. For tight crevices, use a soft paintbrush dipped in alcohol. Test on a small area first—some sensitive plants may get leaf spotting if drenched.
- Wipe and inspect: After dabbing, gently wipe leaves with a soft cloth to remove dead insects and honeydew. Check leaf undersides, petioles, nodes, and any folded or overlapping leaves.
- Apply insecticidal soap: Use a ready-to-use insecticidal soap labeled for houseplants and follow the directions. Thoroughly wet all leaf surfaces, stems, and crevices until they’re glistening. Keep the plant out of direct sun while wet to prevent leaf burn. If you prefer a mild soap solution, use only a small amount of plain, fragrance-free liquid soap; avoid detergents with degreasers or bleach. Rinse sensitive plants 15–30 minutes later.
- Rinse off residue (optional, plant-dependent): After the contact time on sensitive species, rinse gently to remove soap and dissolved wax. For sturdier foliage (pothos, philodendron, rubber plants), you can leave a light film if the label permits.
- Check for root mealybugs if decline continues: If the plant remains sticky or weak despite clean foliage, unpot and inspect roots. Root mealybugs look like white cotton in the soil and on roots. If present, remove as much soil as possible, rinse roots, and repot into fresh, sterile mix and a clean pot. Consider a systemic product labeled for indoor use to target soil-dwelling mealybugs; always follow the label. Keep pets away from treated soil; if a pet ingests any product or treated soil, contact a vet immediately.
- Dry and recover: Let excess water drain fully. Return the plant to bright, indirect light with good airflow. Avoid fertilizing for at least two weeks while it recovers.
- Sanitize your tools and area: Clean scissors, swabs, trays, and the sink/tub with hot, soapy water. Launder any cloths or dispose of used swabs.
Treat Different Plant Types Safely
- Succulents and cacti (jade, echeveria, haworthia): Prioritize alcohol dabbing and dry brushing; avoid leaving soap solutions on leaves, which can spot or sit in rosettes. Keep water out of crown centers. Use a soft brush to reach between pads or rosette leaves.
- Vining aroids (pothos, philodendron, hoya): These usually tolerate insecticidal soap well. Wipe each leaf, top and bottom. Pay attention to nodes along vines and the undersides of new leaves where mealybugs cluster.
- Ferns, calatheas, prayer plants: Sensitive foliage. Test any spray on one leaf first. If no damage after 24 hours, proceed with a diluted soap treatment and rinse after 10–15 minutes. Increase airflow but avoid direct sun.
- Orchids (phalaenopsis, dendrobium): Dab pests with alcohol on a cotton swab; avoid saturating the crown or sitting water in leaf axils. Treat flower spikes and under leaves; rinse gently after contact time.
- Ficus and rubber plants: Wipe large leaves thoroughly. Test sprays to avoid leaf spotting. Regular leaf cleaning discourages re-infestation.
Break the Life Cycle: Follow-Up Schedule
Mealybugs lay eggs in cottony masses and can hide in crevices. A single treatment rarely solves the problem. Repeat treatments to catch newly hatched crawlers:
- Repeat every 7 days for 3–4 cycles: rinse, alcohol dab, and reapply insecticidal soap as needed.
- Inspect twice weekly with a bright light. Focus on new growth, nodes, and leaf undersides.
- Quarantine for 4–6 weeks away from other plants to prevent spread.
- Use yellow sticky cards nearby to monitor flying insects; while male mealybugs are rare indoors, cards help you catch other hitchhikers too.
Set weekly reminders in Plantico so you don’t miss a follow-up cycle. If a plant has been heavily weakened by pests, use this recovery checklist and care adjustments to revive a dying plant once the infestation is under control.
Prevent Mealybugs Returning
- Quarantine new plants for 2–4 weeks before placing them with your collection.
- Wipe leaves monthly with a damp cloth to remove dust and spot early pests.
- Fertilize moderately during active growth; overfeeding can promote soft, pest-prone growth.
- Improve light to match your species; well-lit plants grow sturdier leaves that are harder for pests to exploit.
- Check hidden areas—the underside of hanging baskets, moss poles, and saucers.
- Clean shelves and pots with soapy water; rinse and dry before reuse.
- Water wisely: keep soil appropriate for the species; soggy soil stresses roots and invites multiple problems.
- Inspect after plant moves (gifted cuttings, returns from offices or patios) to catch hitchhikers early.
Consistent care routines make infestations less likely. If you’re unsure about a plant’s specific light and watering needs, start with its accurate ID, then adjust care accordingly.
Conclusion
Mealybugs look dramatic, but you can outpace them with a clear plan: isolate, knock back the population with water and alcohol, apply insecticidal soap correctly, tailor your approach to the plant, and repeat on schedule to break their life cycle. Keep the plant in bright, indirect light, hold fertilizer until growth resumes, and maintain a clean, watchful environment. With steady follow-through, your houseplants can recover from mealybugs and return to healthy, pest-free growth.