 Plantico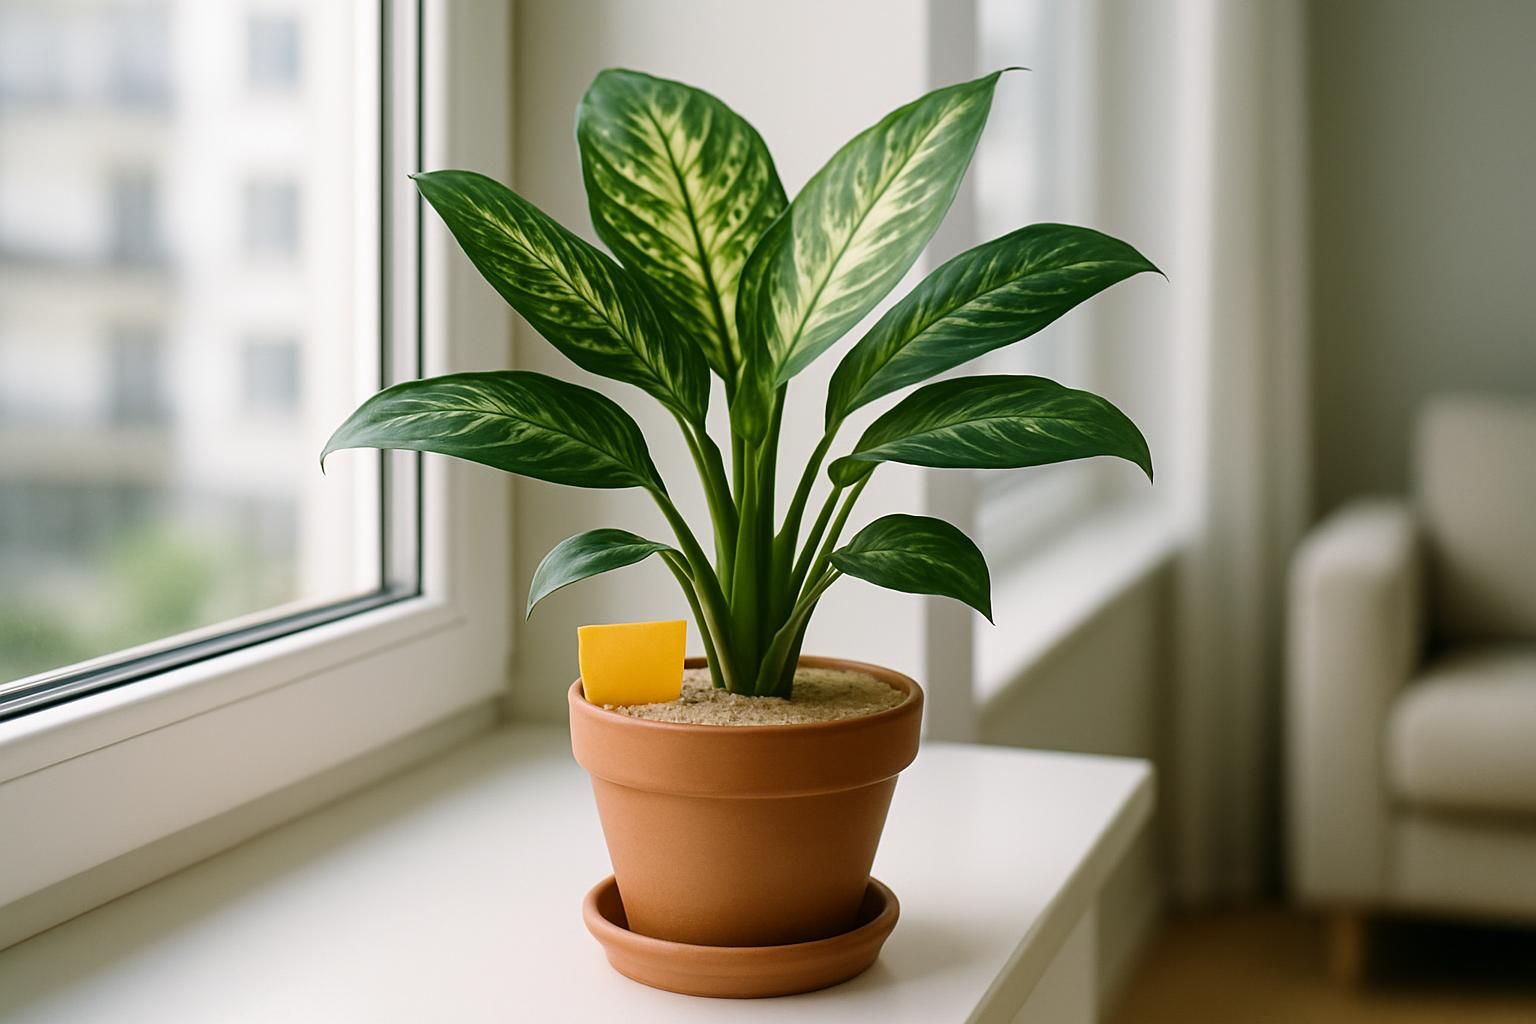
Tiny black flies hovering around your pots aren’t just annoying—they signal a problem in the potting mix. Fungus gnats lay eggs in moist soil; the larvae feed on decaying organic matter and fine roots. The good news: you can break their life cycle with a few targeted steps. Here’s exactly how to confirm you’ve got fungus gnats, clear them out, and prevent a repeat.
1) Confirm It’s Fungus Gnats (Not Fruit or Drain Flies)
Before treating, make sure you’re dealing with fungus gnats. They behave differently from fruit flies and drain flies, and the fix is different too.
- They stay low. Fungus gnats hover near soil and pot rims, often walking across the mix. Fruit flies prefer kitchen counters and ripe fruit; drain flies hang near sinks or bathrooms.
- They look mosquito-like. Slender, long-legged, slow fliers. Fruit flies are stockier with red or dark eyes.
- Sticky trap test. Place a yellow sticky trap just above soil level. Gnats will collect primarily near the pot surface.
- Potato slice test. Lay a raw potato slice on the soil; check after 24–48 hours. Gnat larvae (tiny, translucent with dark heads) gather beneath it.
If your plant struggles beyond gnat damage—wilting, widespread yellowing, or root issues—treat the gnats first, then reassess general care. If you’re unsure how much moisture your plant should have, see how often to water houseplants.
2) Quarantine and Start a Controlled Dry-Down
Gnats need consistently damp topsoil to breed. Your first move is to make that top layer inhospitable while trapping adults.
- Isolate affected plants. Move infested pots away from non-affected plants to stop spread.
- Remove standing water. Empty saucers and cachepots immediately after watering. Don’t let pots sit in water.
- Dry the top 2–3 cm (about a finger’s depth). Wait to water until the surface layer is dry on most tropical foliage plants. For succulents and cacti, let the top 4–5 cm dry.
- Place yellow sticky traps. Position one small trap per pot, with the sticky surface a few centimeters above the soil to catch emerging adults. Replace when covered or dusty.
- Support humidity without wet soil. For ferns, calatheas, and other moisture lovers, raise ambient humidity (group plants, use a tray of pebbles + water under—but not touching—the pot). Avoid constant surface dampness.
Tip: Set a watering reminder in Plantico so you actually stick to the dry-down schedule without drifting back to “just in case” watering.

3) Treat the Soil to Kill Larvae
A dry-down slows breeding, but you’ll clear the population faster by targeting larvae in the mix. Choose one primary method below and apply it consistently. Avoid piling on multiple drenches the same day.
- Hydrogen peroxide flush (simple, fast): Mix 1 part 3% hydrogen peroxide with 4 parts water. Water the plant thoroughly with the solution until it runs from the drainage holes. It will fizz briefly—that’s normal. This contact treatment helps kill larvae in the top layer. Resume normal watering once the top layer dries again. Test on one plant first if you’re concerned about sensitivity.
- BTI (Bacillus thuringiensis israelensis): Use mosquito “bits/dunks” containing BTI. Soak them to make a solution and water with it, or sprinkle bits on the soil and water in, following the label. Reapply as directed until no new adults appear. Keep products away from children and pets.
- Beneficial nematodes (Steinernema feltiae): These microscopic predators seek out larvae. Store them refrigerated, mix with water per label, and drench the soil. They work best in evenly moist, not bone-dry, media. Reapply as directed.
Stick with one larval control for 1–2 weeks while maintaining your dry-down and traps. If adults persist, switch methods or combine a larval control with a physical barrier (next section).
4) Block Adults From Laying Eggs With a Barrier
A physical top layer makes egg-laying difficult and keeps the surface drier.
- Top-dress with coarse material: Add a 1–2 cm layer of coarse horticultural sand, fine gravel, pumice, or aquarium gravel. These drain quickly and discourage larvae. Avoid moisture-holding moss as a top layer.
- Line the pot’s interior drainage hole(s): When repotting, place a square of fine mesh over the holes before adding mix. This prevents larvae from moving in or out while preserving drainage.
- Maintain sticky traps: Keep one trap per pot during treatment, then one per shelf as a monitor. Replace weekly or when covered.
5) Fix the Root Cause: Mix, Pot, and Watering
Fungus gnats flourish in heavy, waterlogged media. Improving aeration and your watering routine prevents re-infestation.
- Check your potting mix: If it compacts or stays soggy for days, refresh it. For tropical foliage (pothos, philodendron, monstera), use a well-draining blend—high-quality potting mix cut with chunky perlite and fine bark for airflow. For succulents and cacti, use a gritty cactus/succulent mix with extra perlite or pumice.
- Use pots with true drainage holes: If you prefer decorative cachepots, keep the nursery pot inside and always empty any pooled water.
- Water by the soil, not the calendar: For most tropical houseplants, water when the top 2–3 cm are dry; for succulents and cacti, wait for a deeper dry layer. If you’re unsure about your plant’s needs, read how often to water houseplants.
- Bottom-water selectively: For plants that dislike wet leaves but tolerate a good soak, set the pot in a tray of water for 10–20 minutes, then let excess drain. Bottom-watering can help keep the top layer drier between cycles.
- Refresh the top layer periodically: If you use organic mulches, swap them for inert top-dressings. Stir and fluff compacted soil gently to improve air exchange without damaging roots.
If you don’t know your plant species and its moisture tolerance, use Plantico to identify a plant from a photo and tailor your watering to its natural habitat.
6) When to Repot and Reset Completely
If the infestation is heavy, the soil smells sour, or roots look stressed, a full reset is faster than chasing adults for weeks.
- Unpot and assess: Slide the plant from its pot. Healthy roots are firm and light-colored. Trim any mushy, dark, or foul-smelling roots with clean scissors.
- Discard old mix: Bag and bin the infested soil. Don’t reuse it indoors.
- Wash the pot: Scrub with hot, soapy water, rinse, and let it dry. Add a fine mesh over drainage holes before refilling.
- Repot in fresh, airy mix: Choose the right blend for your plant family (see above). Set the rootball so the crown is at the same height as before. Backfill and tap to settle without compacting.
- Water in once, then dry the top: Give a thorough initial watering to eliminate air pockets, then let the top layer dry before the next watering. Add a sticky trap to monitor for stragglers.
After a reset, focus on gentle recovery care: bright, indirect light, steady temperatures, and careful watering. If the plant is wilted or has significant leaf loss, our guide on how to revive a dying plant covers broader triage.
Conclusion
Fungus gnats thrive in consistently damp, organic-rich soil. Break their cycle by confirming the pest, drying the top layer, killing larvae with a targeted drench (peroxide, BTI, or nematodes), blocking egg-laying with a coarse top-dress, and tightening your potting mix and watering routine. Keep sticky traps in place as monitors; a steady decline in captures means you’re winning. With a few weeks of consistent steps and better moisture management, your plants and your living room will be gnat-free—and you’ll be set up to prevent a comeback.