 Plantico
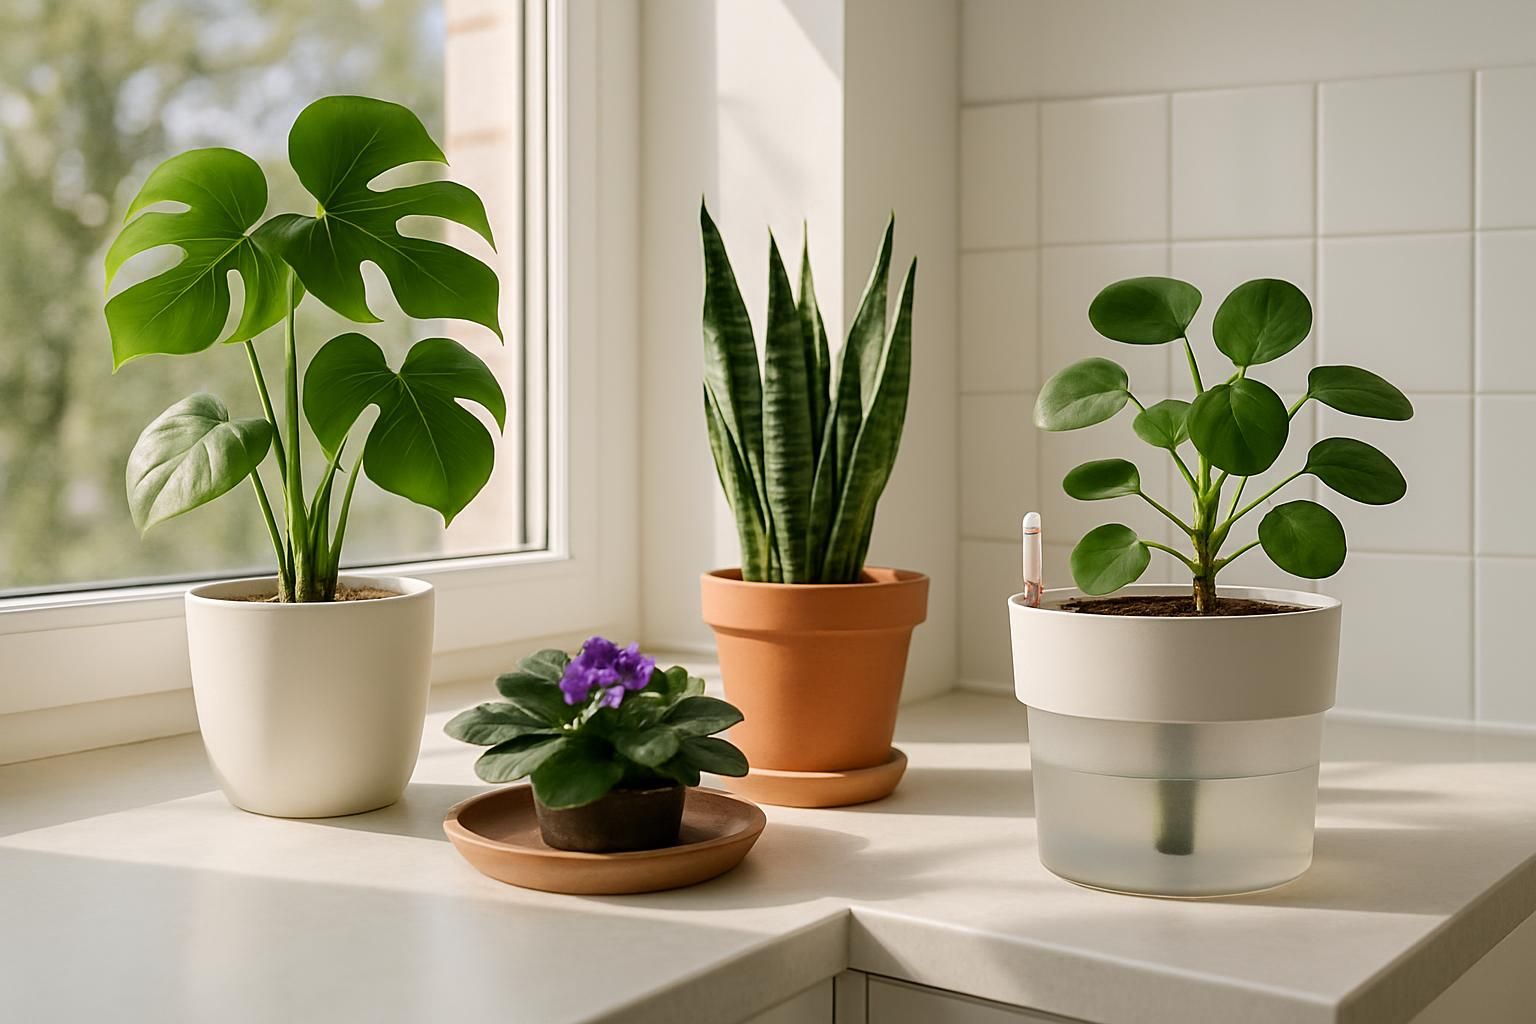
Watering is where most houseplant problems begin, but it is not just about how often you water. The way you deliver water changes how evenly the potting mix hydrates, how salts build up, and how roots get oxygen. This guide explains top watering, bottom watering, and self-watering planters, with practical steps and plant-specific recommendations so you can match the method to your plant and pot.
How Water Moves in Pots (And Why It Matters)
Roots need both moisture and air. In a pot with a drainage hole, water applied from the top moves down by gravity while capillary action pulls moisture sideways and upward. The mix holds some water and lets the rest drain out. If the mix stays waterlogged for long periods, oxygen runs low and roots can suffocate or rot.
Two factors shape what happens when you water:
- Potting mix texture: Chunky aroid mixes with bark and perlite drain faster than fine mixes with peat and compost. Chunky mixes are harder to bottom water because water does not wick up as easily.
- Container and hole count: Pots with a single center hole drain more slowly than nursery pots with multiple side holes. Terracotta breathes and speeds drying; plastic retains moisture longer.
Top watering rinses the profile from the surface down, helping flush fertilizer salts. Bottom watering lets the mix wick water upward through the drainage holes, which can evenly rehydrate dry peat-based mixes and keep leaves dry on sensitive plants. Self-watering planters use a wick or contact area to pull water from a reservoir as the mix dries, offering steadier moisture for thirsty species.
Top Watering: Do It Safely and Thoroughly
Top watering is the default method for most houseplants and works well if you water deeply and let excess drain.
- Check dryness first. For 10–15 cm pots, press a finger 2–3 cm into the mix. For larger pots, use a wooden skewer pushed halfway down; if it comes out dry or barely damp, it is time to water. You can also learn the pot’s weight when dry vs hydrated.
- Water evenly around the surface. Use a narrow-spout watering can to circle the pot, wetting the entire surface so water penetrates uniformly. Avoid pouring in one spot only.
- Stop when you get runoff. Aim for a thorough soak until water exits the drainage holes. Empty the saucer after about 5–10 minutes so roots are not left sitting in water.
- Flush occasionally. Every 4–6 weeks, give an extra-deep rinse to carry away fertilizer salts that can burn roots and leaf edges.
Plant notes: For snake plant (Sansevieria) and ZZ plant (Zamioculcas), let the mix dry fully between waterings; then top water thoroughly and drain well. For orchids in bark (Phalaenopsis), pour slowly through the bark until it darkens, then drain; keep water out of the leaf crown. Cacti and most succulents prefer this drench-and-dry cycle with bright light and a gritty mix.

Bottom Watering: When and How
Bottom watering is helpful when the top layer is hydrophobic (water beads and runs off) or when you want to keep moisture off sensitive foliage. It works best with peat- or coco-based mixes that can wick water upward. Very chunky aroid mixes and pure bark do not wick well.
- Set up a tray or sink. Fill with 2–5 cm of water. Place the nursery pot or a pot with drainage holes in the water so it contacts the bottom.
- Wait for even moisture. In 10–30 minutes, the top of the mix should feel evenly damp and the pot will feel heavier. If the top is still dry, add a little more water and give it a few more minutes.
- Drain thoroughly. Lift the pot, let excess drip out, and return it to its saucer. Do not leave the plant sitting in water.
- Alternate with a top flush. Bottom watering does not rinse salts. Alternate with an occasional top watering to flush the mix, especially if you fertilize regularly.
Plant notes: African violets (Saintpaulia) and other fuzzy-leaved Gesneriads benefit from bottom watering to avoid leaf spots and crown rot. Calatheas and prayer plants (Maranta) appreciate the even moisture this method provides, as long as you allow the top 1–2 cm to dry between sessions. Peperomia have delicate stems; bottom watering can help prevent rot at the crown, but let the mix approach dryness first.
Self-Watering Planters and Wick Systems
Self-watering pots have a reservoir and a wick or contact shelf. As the mix dries, it pulls up water by capillary action. They are useful for plants that like steady moisture and for busy people, but they still require setup and checks.
- Pre-moisten the mix. Always moisten your potting mix before potting into a self-watering container. Dry mix will not wick well from a reservoir.
- Right plant, right wick. Peace lily, pothos, philodendron, monstera, many herbs, and most calatheas adapt well. Use a smaller wick or reduced contact area for moderately thirsty plants. Avoid using reservoirs for cacti, most succulents, or snake plants unless you keep the reservoir empty for long stretches.
- Start conservatively. For the first two weeks, fill the reservoir only partway and monitor how quickly it empties. Check the top 2–3 cm of mix; it should not stay perpetually wet.
- Flush monthly. Lift the inner pot and run water through from the top to remove salts. Empty and rinse the reservoir before refilling.
- DIY wick. You can create a simple wick system by threading a synthetic cord through the drainage hole into a water-filled cachepot. Test for a day to ensure the surface is not soggy; shorten the wick if it is.
For plants in coco or peat mixes, self-watering can smooth out your schedule and reduce underwatering stress. For aroids in chunky bark-heavy mixes, consider mixing in more coco coir or smaller perlite to improve wicking if you want to use a reservoir.
Match the Method to Your Plant and Pot
- Cacti and succulents: Top water thoroughly, then allow the mix to dry completely to the bottom before watering again. Use a gritty, fast-draining mix and a bright spot.
- Snake plant (Sansevieria) and ZZ plant: Top water only when the pot feels light and the skewer is dry to the bottom. Avoid self-watering unless you keep the reservoir empty.
- Pothos, heartleaf philodendron, and most vining aroids: Either top water to runoff or use a moderate self-watering setup. Let the top 2–3 cm dry between waterings.
- Monstera deliciosa and split-leaf philodendrons: Top water to runoff and drain well. Self-watering can work with a small wick and a chunky mix that still wicks; keep the surface from staying soggy.
- African violets and streptocarpus: Bottom watering is ideal. Let the top 1 cm dry before the next session. Avoid splashing leaves.
- Calatheas, Maranta, and many ferns: Bottom watering or gentle self-watering helps maintain even moisture. Let the surface dry slightly; do not let the full root ball dry out.
- Orchids in bark: Top water by slowly pouring through or briefly soaking the pot, then drain completely. Bottom watering is ineffective with coarse bark.
- Herbs (basil, mint, parsley): Consistent moisture is key. Top water to runoff, or use a self-watering pot with a modest wick. Do not let them sit bone dry.
- Terracotta vs plastic: Terracotta speeds drying. If a plant is staying too wet in plastic, consider switching to terracotta or reducing wick size in a self-watering setup.
- Pot size: Larger pots dry more slowly. Check deeper with a skewer and water less often, regardless of method.
If you are unsure what plant you own, identify it first so you can pick the right method. Plantico can recognize common houseplants from a photo and set reminders tailored to your pot and room conditions.
Troubleshooting Watering Problems
- Yellowing lower leaves: This can be from overwatering or underwatering. Check the mix: is it wet and cool or dry and dusty? Use our guide on why leaves turn yellow to compare symptoms.
- Crispy edges vs soft, limp leaves: Crispy tips usually point to underwatering or low humidity; soft, limp growth often means prolonged saturation. Adjust the interval and consider switching methods.
- Salt crust on soil or pot rim: Alternate a bottom watering routine with a top flush. Rinse thoroughly until water runs clear, then drain.
- Fungus gnats: These thrive in constantly damp topsoil. Let the top 2–3 cm dry between waterings and remove dead leaves. Bottom watering can help keep the surface drier, but do not keep the whole root ball saturated.
- Hydrophobic soil: If water beads on top and runs down the sides, do a controlled rehydration: pour small amounts, wait a few minutes, and repeat, or use one session of bottom watering, then resume top watering with slower pours. Repot if the mix has broken down.
- Root rot warning signs: Sour smell, black or mushy roots, collapsing stems. Unpot, trim damaged roots, refresh the mix, and reduce watering frequency. See our step-by-step tips on how to revive a dying plant.
Dialing in frequency goes hand in hand with method. If you are unsure how often to water for your light, pot, and mix, start here: how often to water houseplants. Use Plantico to log your last watering and set reminders based on actual dryness checks, not the calendar alone.
Conclusion
Choose the watering method that fits your plant, pot, and potting mix. Top watering is simple and flushes salts. Bottom watering evenly rehydrates and keeps leaves dry. Self-watering offers steady moisture for the right species when set up carefully. Check dryness below the surface, water thoroughly, drain well, and adjust with the seasons. With a consistent method and small observations—pot weight, leaf feel, and how fast the mix dries—you will keep roots healthy and growth steady.