 Plantico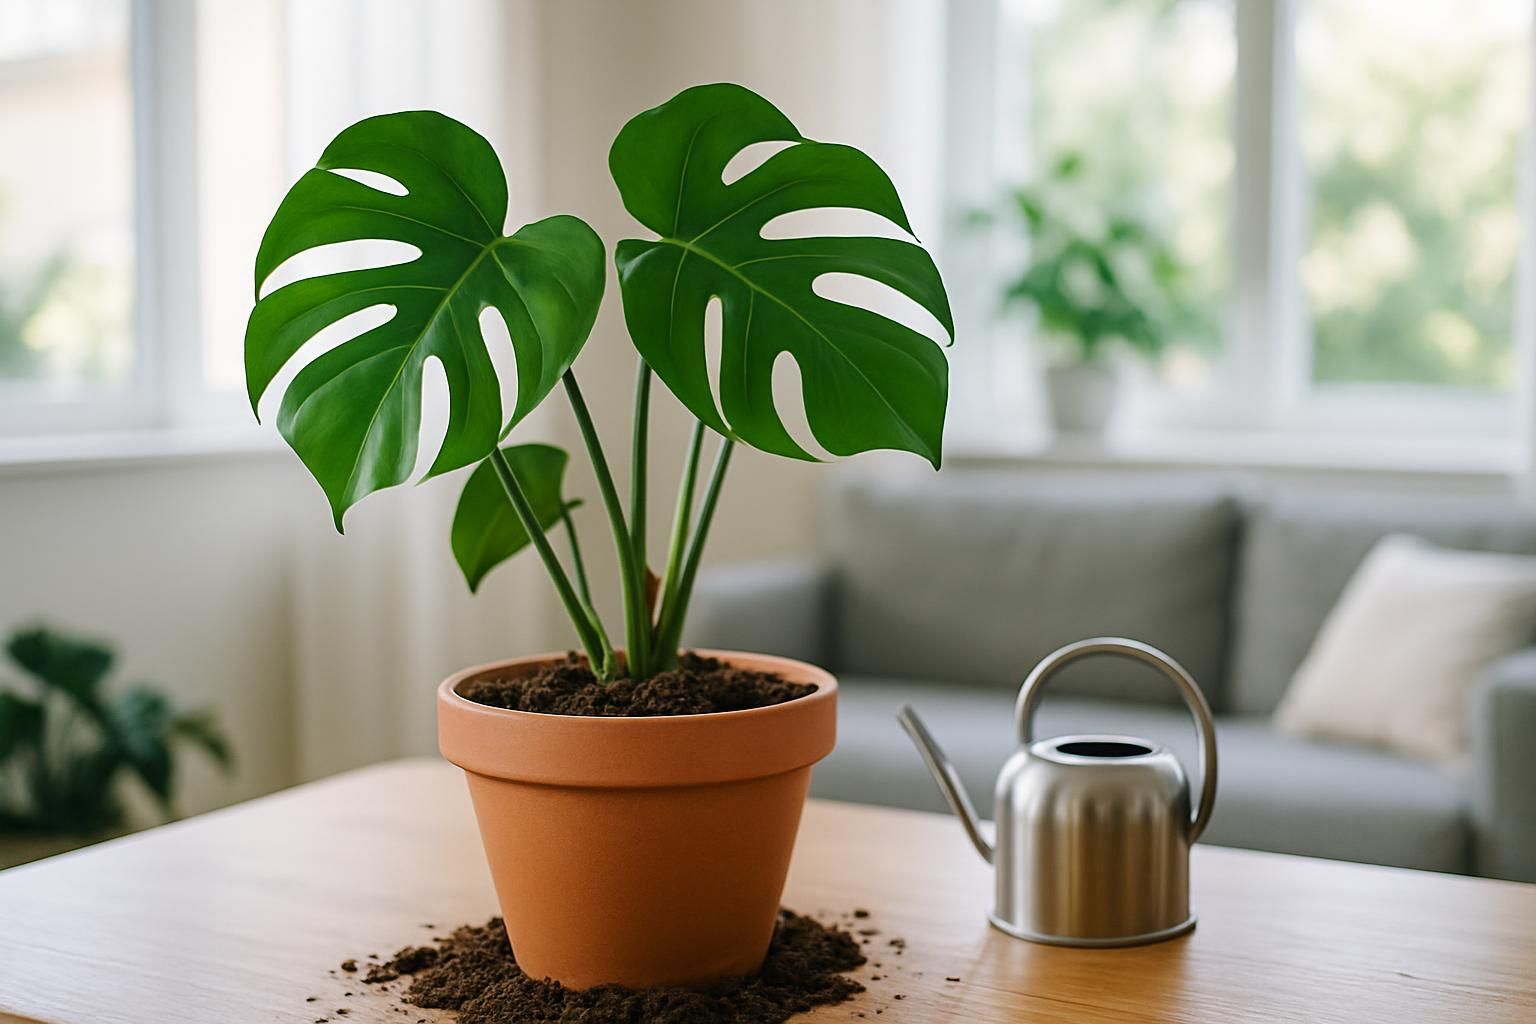
Repotting is more than giving a plant a bigger home. It refreshes tired soil, improves drainage, and creates room for roots to grow. Done well, it reduces stress and sets your plant up for a healthy growing season. This guide explains when to repot, what pot and soil to use for different plant types, how to do it step by step, and how to care for your plant afterward.
Signs Your Plant Needs a New Pot
You do not have to wait for roots to strangle a pot before repotting. Look for these clear, practical cues:
- Roots circling or poking out: Roots loop tightly around the root ball or emerge from drainage holes or the soil surface.
- Water behavior is off: Water rushes straight through without soaking in, or it pools on top because the mix is compacted.
- Soil looks tired: The mix has collapsed, turned dense, or shows a white crust of mineral salts.
- Top-heavy or leaning: The plant wobbles, tips, or has outgrown its current pot’s weight.
- Stalled growth despite good light and care: The plant seems stuck even though its other needs are met.
- Pot is deforming: Plastic pots bulge from root pressure.
Emergency repotting is warranted if the mix stays wet for many days and smells sour, or if you find black, mushy roots when you gently check the root ball. That usually means poor drainage or overwatering has led to rot.
Best Time to Repot and What to Prepare
Repot in spring or early summer when days are longer and growth is active. Avoid deep winter unless it is an emergency. Water the plant lightly a day before you repot so the root ball slides out more easily and roots are flexible.
Gather what you need:
- Pot with drainage holes that is one size larger (about 2–5 cm wider in diameter) than the current pot. Oversizing can keep soil wet too long.
- Fresh potting mix suitable for your plant type (details below).
- Catch tray or a decorative cachepot to protect your surfaces.
- Stakes or ties for tall or vining plants.
- Clean scissors or pruners to trim dead roots. Wipe blades with alcohol before and after.
- Mesh or a shard to cover the drainage hole if your mix is very coarse.
If you are unsure what plant you are growing, identify it first so you can choose the right mix. You can identify your plant from a photo in Plantico, then follow the mix suggestions for that species or group below. Keep cuttings and old soil away from pets; if a pet chews a plant, contact a vet.

Picking the Right Pot and Soil Mix
Choosing the correct container and medium prevents most repotting problems.
Pot size and material
- Go up one size: Choose a pot that is slightly wider than the current one. Too much fresh mix around a small root ball can stay wet and suffocate roots.
- Drainage is non-negotiable: Ensure there is at least one drainage hole. If you love a decorative pot without holes, keep the plant in a plastic nursery pot with holes and set it inside the decorative “cachepot.”
- Terracotta vs. plastic/glazed: Terracotta breathes and helps mixes dry faster, good for succulents and overwatered plants. Plastic and glazed ceramic retain moisture longer, useful for ferns and thirsty plants.
Soil mixes by plant type
- Aroids (Monstera, Philodendron, Pothos): Use a chunky, airy mix that drains well and holds some moisture. Combine quality potting soil with coarse bark and perlite.
- Cacti and succulents (Aloe, Echeveria, Haworthia): Choose a gritty cactus/succulent mix or blend potting soil with plenty of mineral material such as pumice, perlite, or coarse sand. The result should feel light and fast-draining.
- Ferns (Boston fern, Maidenhair): Use a moisture-retentive but airy mix. A peat-free potting mix with extra perlite and some fine bark works well. Keep evenly moist, not soggy.
- Calathea/Maranta: A fine-textured, airy mix that stays evenly moist suits them. Combine peat-free potting mix with coco coir and perlite.
- Orchids (Phalaenopsis): Do not use regular soil. Pot in orchid bark. Add a little sphagnum moss if your air is very dry, keeping the crown above the media.
- Snake plant (Sansevieria/Dracaena trifasciata) and ZZ plant: Use a free-draining mix similar to cactus soil. Keep the crown or rhizome slightly high to avoid rot at the base.
Avoid reusing old, compacted soil unless you refresh it thoroughly and are sure there are no pests. If roots were rotting, discard the old mix.
Step-by-Step: Repot Without Stress
- Water lightly the day before: This makes removal easier and reduces root breakage.
- Loosen the plant: Squeeze flexible pots or run a butter knife around the inside edge of rigid pots. Support the base of the plant and ease it out.
- Inspect and tease roots: Gently loosen tight root circles. Trim dead, mushy, or blackened roots with sterilized scissors. Healthy roots are typically firm and pale.
- Set the drainage layer (optional): Cover the drainage hole with mesh or a shard to keep coarse mix in. Do not add stones; they reduce effective drainage depth.
- Add a base layer of mix: Enough so the plant sits at the same height it did before. Do not bury the stem or crown deeper than its previous soil line.
- Position the plant: Center it, or place it slightly back if it is leaning, and add any stakes now.
- Backfill and settle: Fill around the root ball with fresh mix. Tap the pot and gently press to remove air gaps, but do not compact the soil hard.
- Leave a watering gap: Keep 1–2 cm of space at the rim for easy watering.
- Initial watering: For most tropical foliage, water thoroughly until excess drains. For cacti and succulents, wait 2–3 days before the first light watering to let any root nicks callus.
- Clean up: Wipe leaves with a damp cloth and label the pot with the date and mix used for future reference.
Aftercare: Watering, Light, and Feeding
Repotting disturbs roots. Offer stable conditions while they reestablish.
- Light: Keep the plant in bright, indirect light for 1–2 weeks. Avoid intense midday sun right after repotting, especially for shade-loving species.
- Watering cadence: For tropical foliage, water again when the top 2–3 cm of soil is dry. For succulents, water when the mix is fully dry. If you are unsure, see this guide on how often to water houseplants.
- Fertilizer: Pause feeding for about a month, then resume a balanced, dilute fertilizer during active growth.
- Humidity and airflow: Normal indoor humidity is fine for most plants. Light airflow helps mixes dry evenly; avoid cold drafts.
- Do not combine big stresses: Avoid heavy pruning, major moves, or abrupt light changes for a couple of weeks after repotting.
If you use Plantico, set a repotting note and watering reminders matched to your plant type, pot material, and room light so you do not over or underwater during recovery.
Troubleshooting Common Repotting Problems
- Wilting or drooping after repotting: Mild wilt is normal for a few days. Provide bright, indirect light and keep the mix slightly moist (for tropicals). If it worsens, check that you did not bury the crown too deep and that the pot drains.
- Yellow leaves: A few older leaves may yellow from transplant shock. If many leaves turn pale or yellow, review watering and light. This explainer can help you pinpoint why leaves turn yellow.
- Soil stays wet too long: The pot may be too large, the mix too dense, or light too low. Move to brighter indirect light, allow more drying between waterings, and consider switching to a chunkier mix next time.
- Leaning or unstable plant: Press the mix gently to firm the root zone, then stake. Add a bit more mix if the root ball settled after the first watering.
- Fungus gnats: They thrive in consistently wet soil. Let the top layer dry between waterings, bottom-water when possible, and remove fallen leaves from the soil surface.
- Brown crispy tips after repotting: Often due to underwatering or very dry air. Check moisture with your finger and water when the top layer is dry for the species in question.
- Persistent decline: If leaves continue to drop or the plant smells sour, slip the plant out to inspect roots. Trim rot, refresh with a better-draining mix, and cut back on watering until recovery.
For next time, take notes on the mix and pot you used and how the plant responded. Those observations are the quickest path to a smoother repot with your conditions.
Conclusion
Repotting is a routine refresh that keeps houseplants growing well: choose the right season, step up one pot size with drainage, match the soil to your plant type, and water thoughtfully afterward. Watch how the plant responds over the next few weeks, adjusting light and watering to keep the root zone healthy. Use Plantico to log your repot date and set gentle reminders so your plant settles in and thrives.