Welcoming natural elements into living spaces is a proven way to boost mood, reduce stress, and improve air quality. For wellness-focused living, houseplants are more than decoration; they are daily practices that reinforce calm, routine, and mindfulness. This beginner-friendly guide walks you through selecting forgiving species, designing a nurturing space, mastering essential care, and weaving plant care into your everyday routine. You will learn how to choose plants that thrive in your light, how to arrange them for visual serenity, and how simple habits can turn plant care into a wellness ritual rather than a chore. By the end, you’ll have a practical plan to start small and grow with confidence.

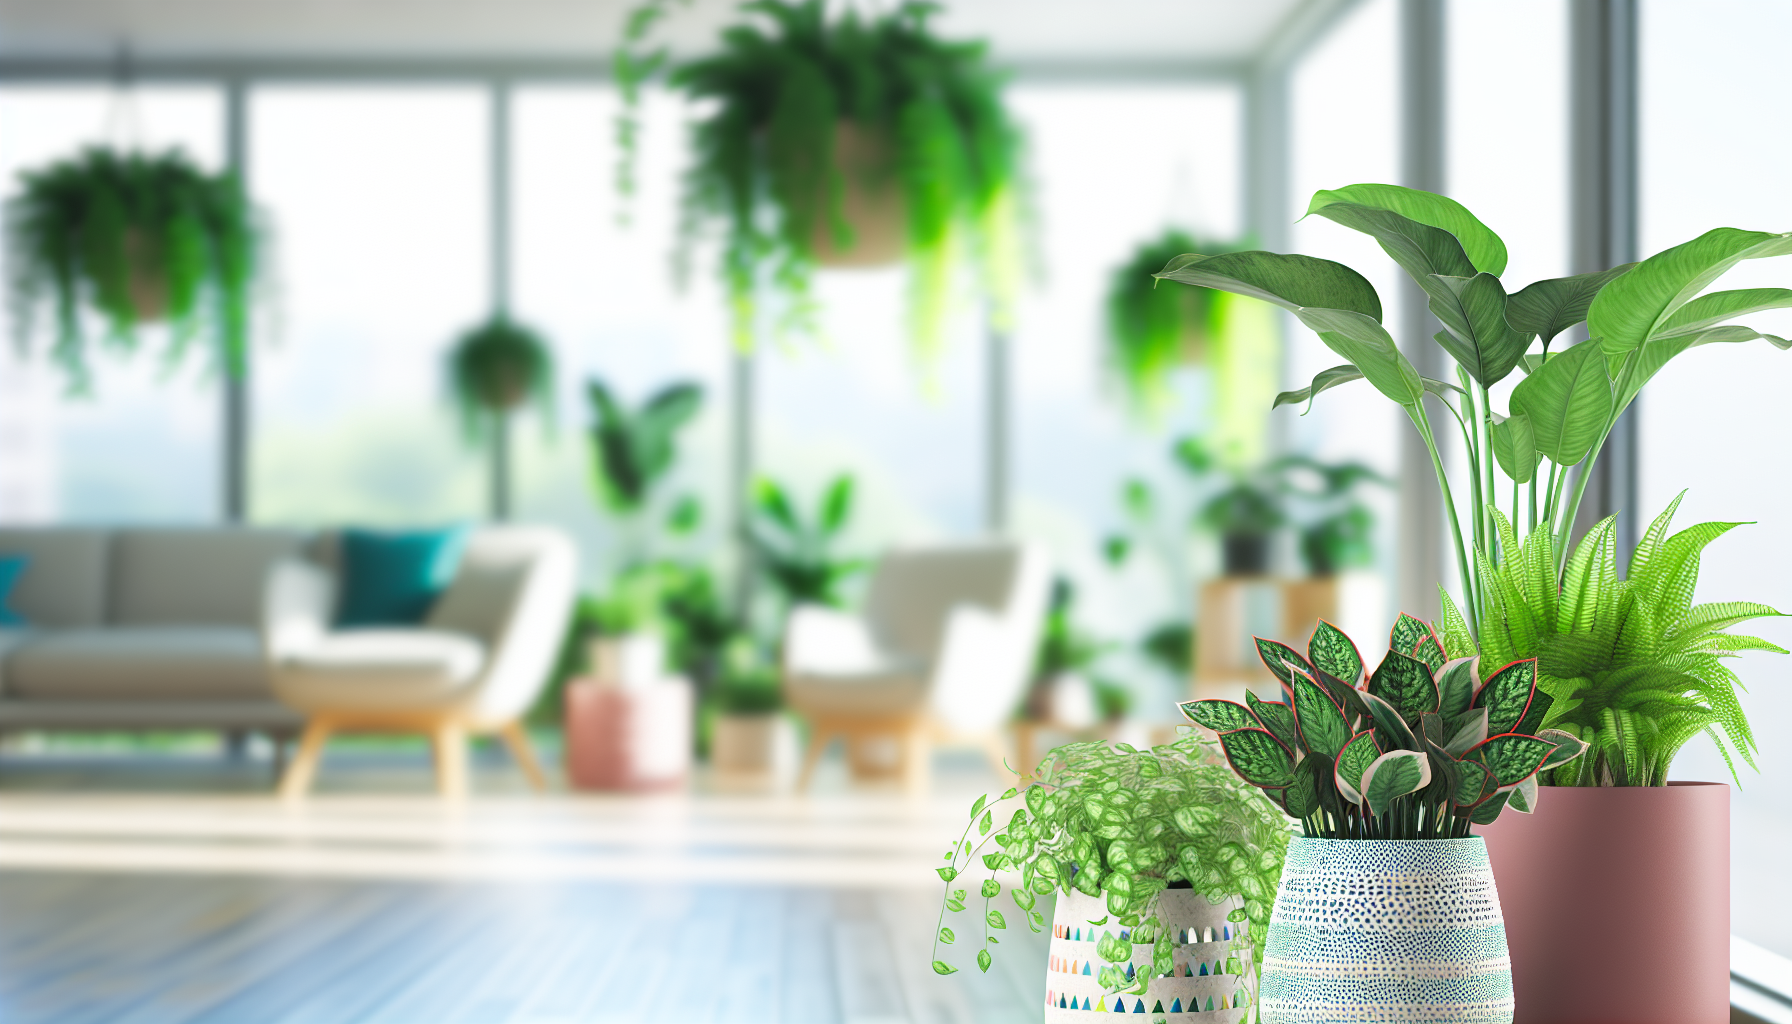
Choosing the Right Houseplants for Wellness
For beginners, resilience beats novelty. Start with plants that tolerate beginner mistakes, variable light, and indoor drafts. Think long-lived, low-maintenance options that still offer visual calm. The goal is to build confidence with species that ask for less fuss while delivering steady rewards. Consider these starter picks and how they fit your space:
- Snake Plant (Sansevieria trifasciata) — thrives in low light, tolerates sporadic watering, and adds architectural vertical interest.
- ZZ Plant (Zamioculcas zamiifolia) — forgiving, glossy foliage, and good for rooms with irregular light patterns.
- Pothos (Epipremnum aureum) — fast-growing, adaptable to hanging or shelf setups, ideal for beginners.
- Spider Plant (Chlorophytum comosum) — resilient, produces baby plants, and loves bright-indirect light.
- Peace Lily (Spathiphyllum) — elegant blooms in medium light, though it needs consistent moisture; great for adding serenity.
As you select, assess your space: how bright is it, how often do you travel, and what’s your typical room temperature? Choosing plants that align with these conditions reduces the risk of overwatering or underwatering and keeps your wellness goals front and center.
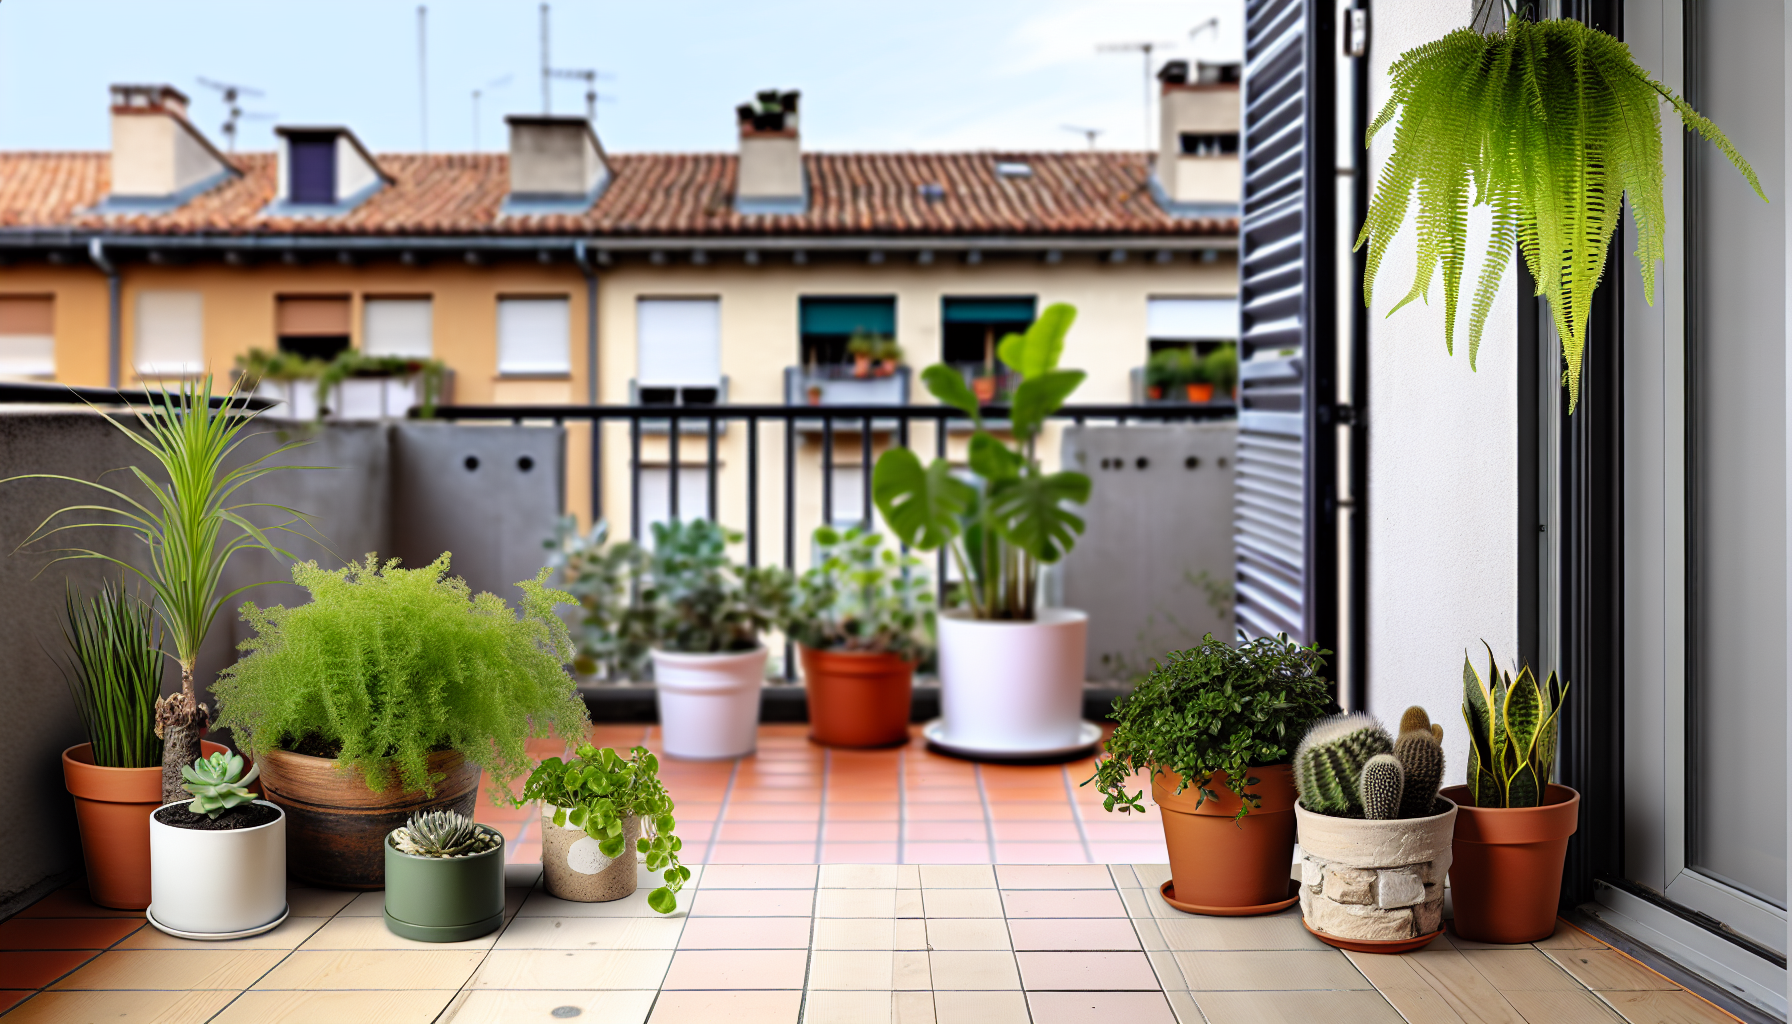
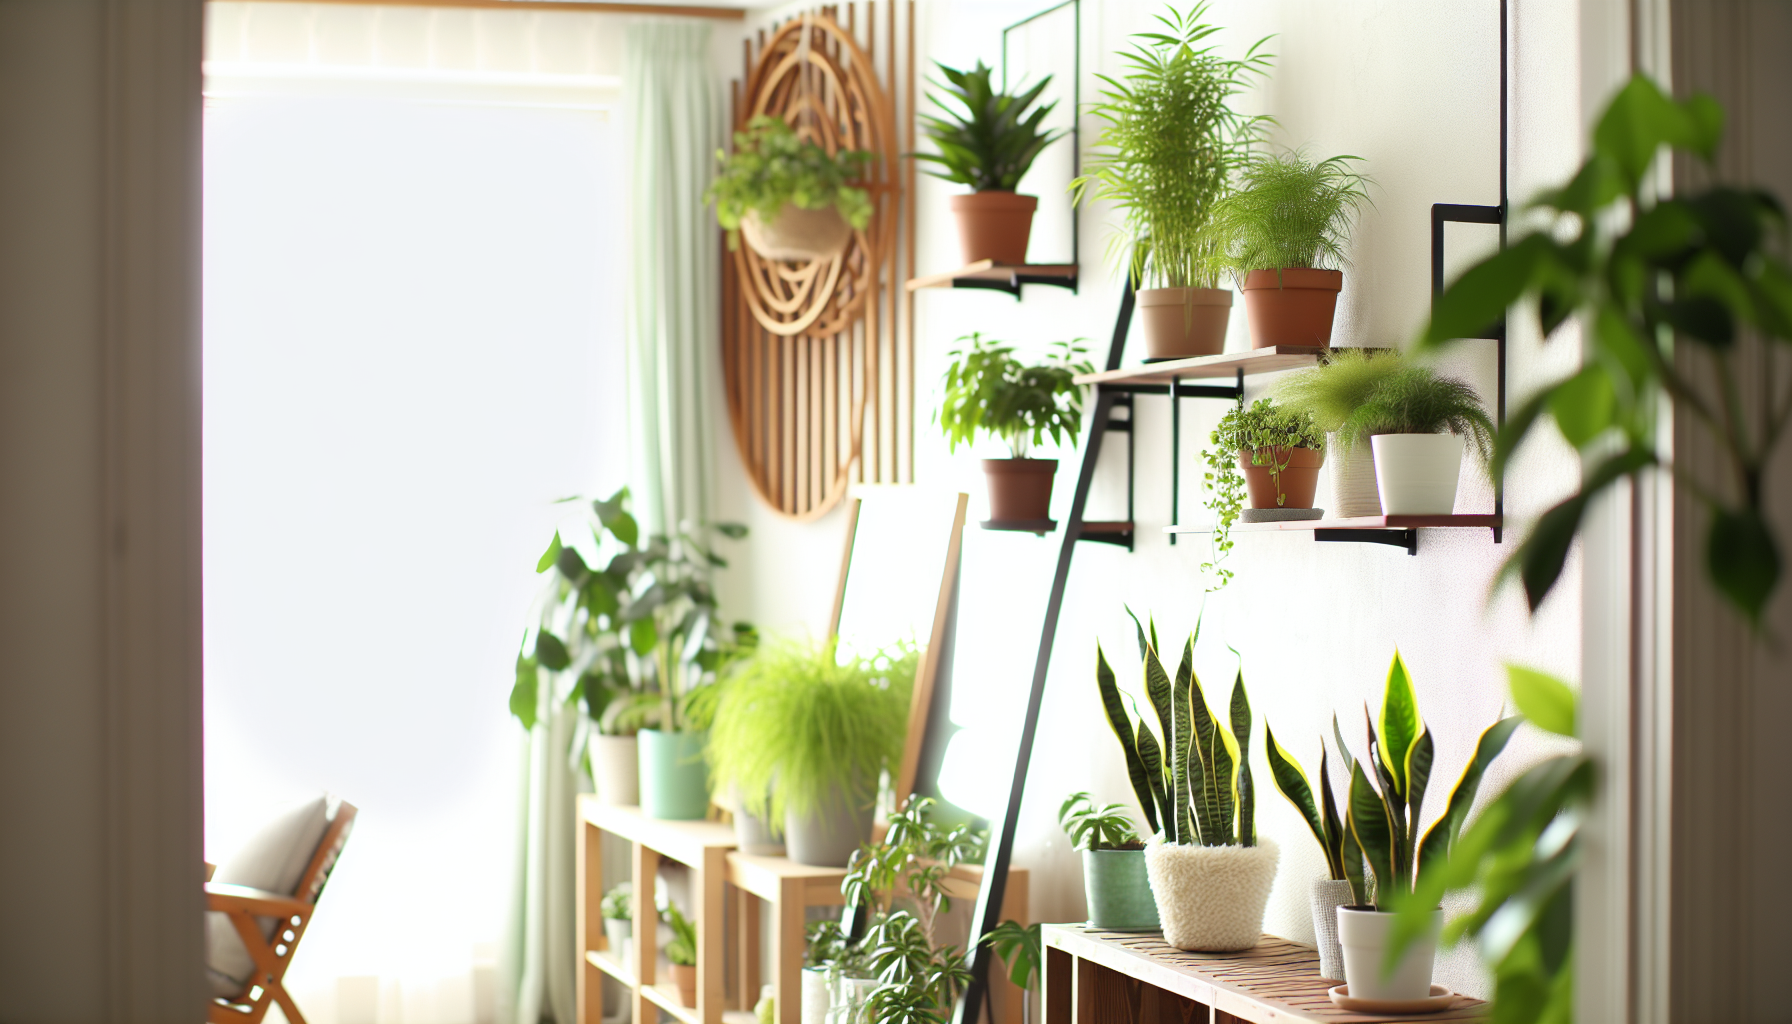
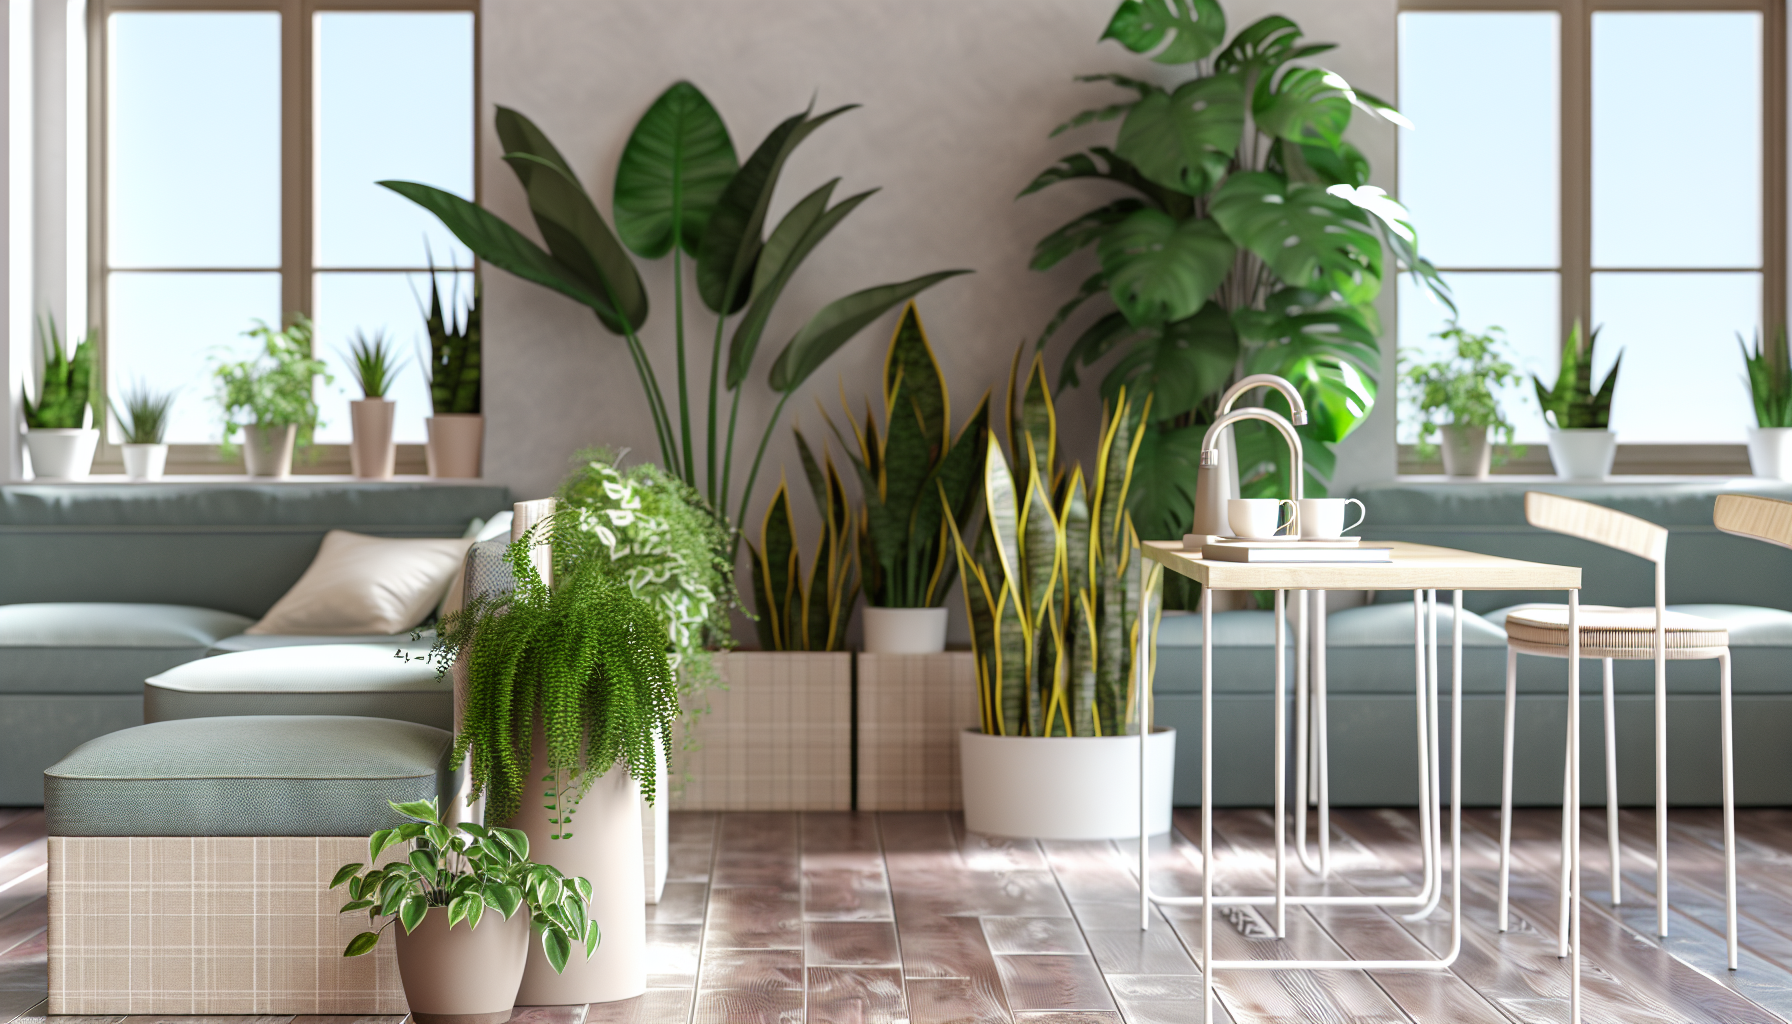
Designing a Wellness-Focused Plant Space
A calming plant layout supports daily rituals and reduces cognitive load. Begin by mapping your space and creating microclimates that fit each plant’s needs. Then design a flow that invites you to interact with your greens rather than avoid them. Practical steps:
- Chart your rooms for light exposure (bright, medium, low) and place plants accordingly.
- Group plants by similar care needs on shelves or a dedicated plant stand to simplify maintenance.
- Incorporate vertical gardening or hanging planters to maximize floor space and create visual depth.
- Choose a cohesive color palette—greens, soft whites, and natural wood tones—to foster a tranquil atmosphere.
- Position frequently used plants within easy reach of your desk, kitchen, or bathroom to encourage regular interaction.
By crafting a simple, balanced layout, you create a living backdrop that supports focus, mood regulation, and a sense of control over your environment.
Care Fundamentals for Beginners
Solid habits beat sporadic attention. Understanding core care principles helps you avoid common mistakes and keeps plants thriving as you build your wellness routine. Focus areas include watering, light, soil, and seasonal adjustments:
- Watering discipline: water when the top inch of soil dries out; avoid a strict schedule that doesn’t match plant needs. Use pots with drainage to prevent root rot.
- Light awareness: most beginner-friendly plants prefer bright-indirect light; rotate plants monthly to equalize growth and prevent leaning toward light.
- Soil and pots: use a light, well-draining potting mix and choose containers with drainage holes. Repot only when growth warrants it, typically every 1–2 years.
- Fertilization: feed lightly in the growing season (spring–summer) and skip in winter; a diluted balanced fertilizer is usually enough.
- Maintenance: wipe leaves to remove dust, which improves photosynthesis and reduces irritants in the air; inspect for pests monthly and take early action if spotted.
Consistency is key. A simple weekly 10-minute routine—check moisture, dust leaves, rotate, and observe growth—builds confidence and compounds wellness benefits.
Integrating Plants into Daily Wellness Routines
Plants can anchor mindfulness and daily rituals, turning caretaking into a soothing practice rather than a task. Build micro-routines that center you and honor your space:
- Start your day with a quick plant check-in: water if needed, wipe a few leaves, and notice any growth changes.
- Use plant care as a grounding moment: a short 5–10 minute session can become a mental reset between tasks.
- Keep a simple garden log—date, plant name, watering notes, and observations—to track progress and celebrate small wins.
- Pair plant care with other wellness practices such as a 5-minute meditation or a slow, mindful tea break to deepen your routine.
- Seasonal adjustments: light patterns shift with the seasons; adapt placement and care to maintain steady growth and calm aesthetics.
With this integrated approach, plants move from decoration to a strategic component of your well-being framework, reinforcing daily calm and deliberate living.
Conclusion
In this guide you’ve learned how to choose forgiving plants that suit your space, how to design a calm, functional plant environment, and how to establish simple, sustainable care and wellness routines. By starting with resilience, you reduce overwhelm and create early wins that fuel momentum. A mindful approach to watering, light, and maintenance becomes a daily habit rather than a chore, turning your home into a living sanctuary. As you expand your collection and refine your routine, you’ll notice improvements in mood, focus, and stress management. Begin small, stay consistent, and let your plants grow with you on this wellness journey.