Choosing the right plants for a cozy home
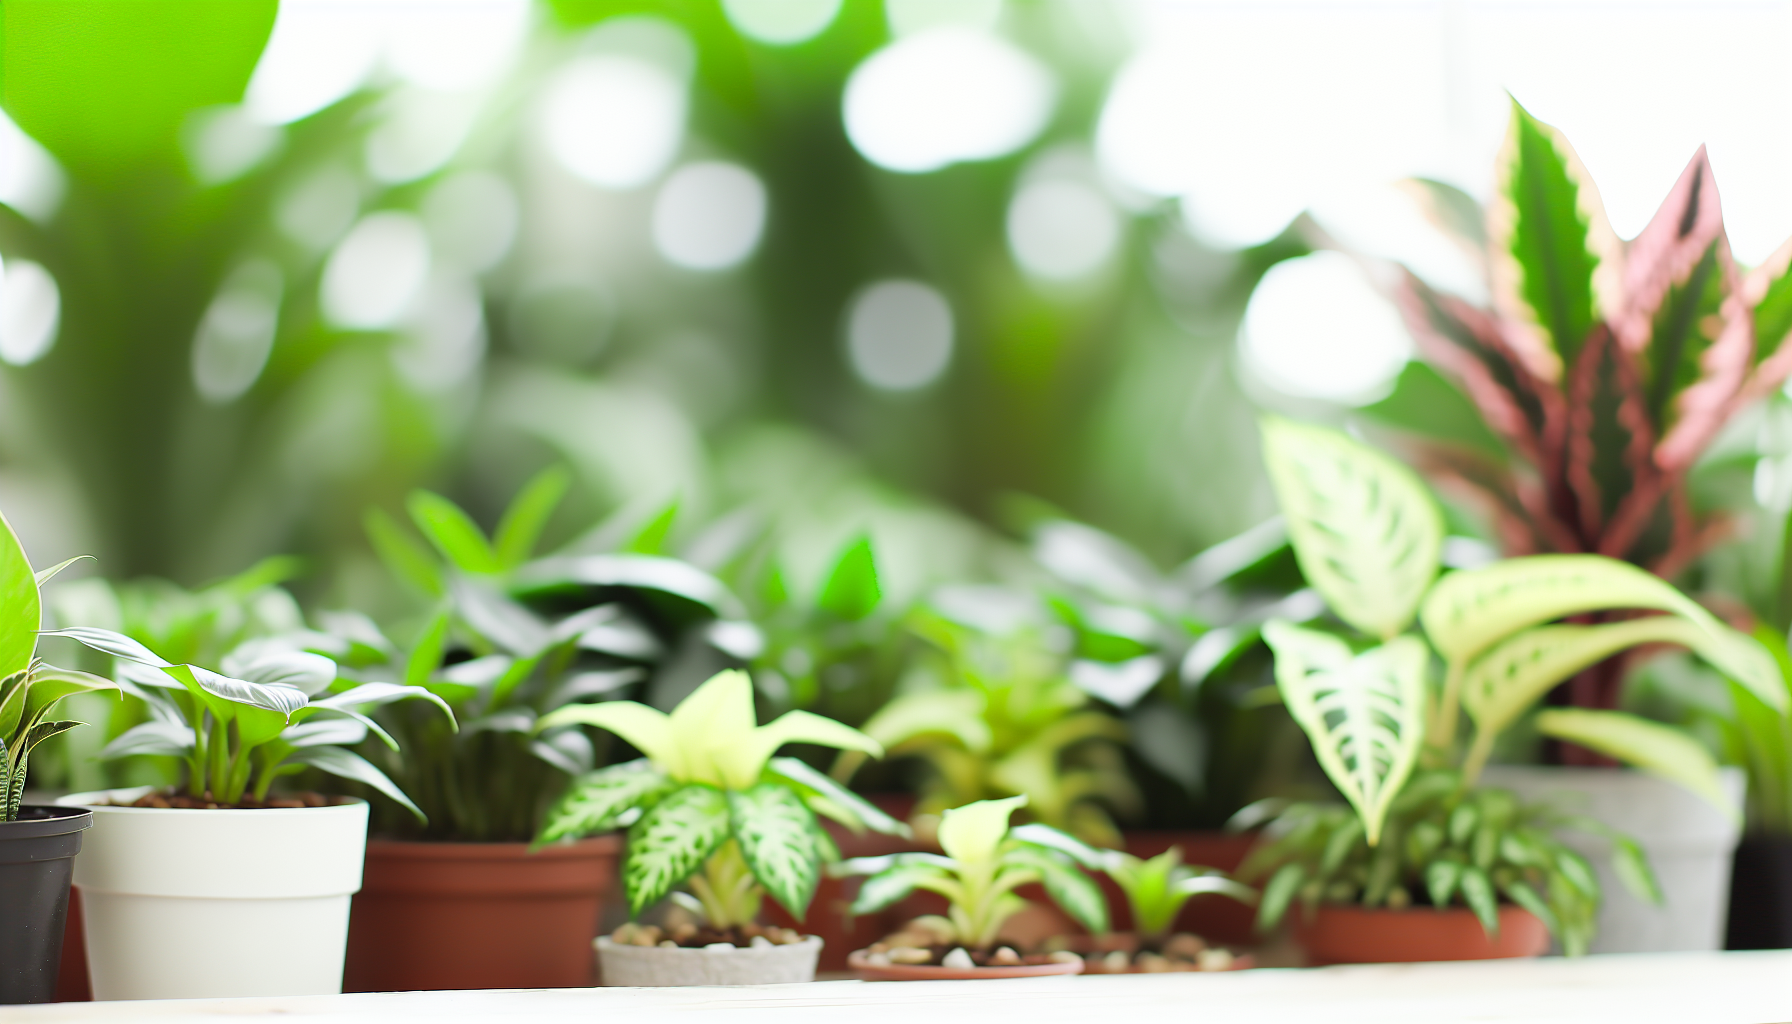
When you’re building a cozy, welcoming space, plants are the natural decor that brings warmth, texture, and life. The goal for beginners is to pick species that are forgiving and fit your routine, not demand perfection. Start by assessing your space: how much natural light does each area receive, how much time you want to dedicate to plant care, and whether pets or children are around. From there, you can curate a small, versatile collection that stays healthy with minimal effort. In this chapter, we’ll outline practical criteria for selecting plants that feel effortless yet comforting—a foundation for a home that looks lived-in and cared for, not cluttered or stressful.
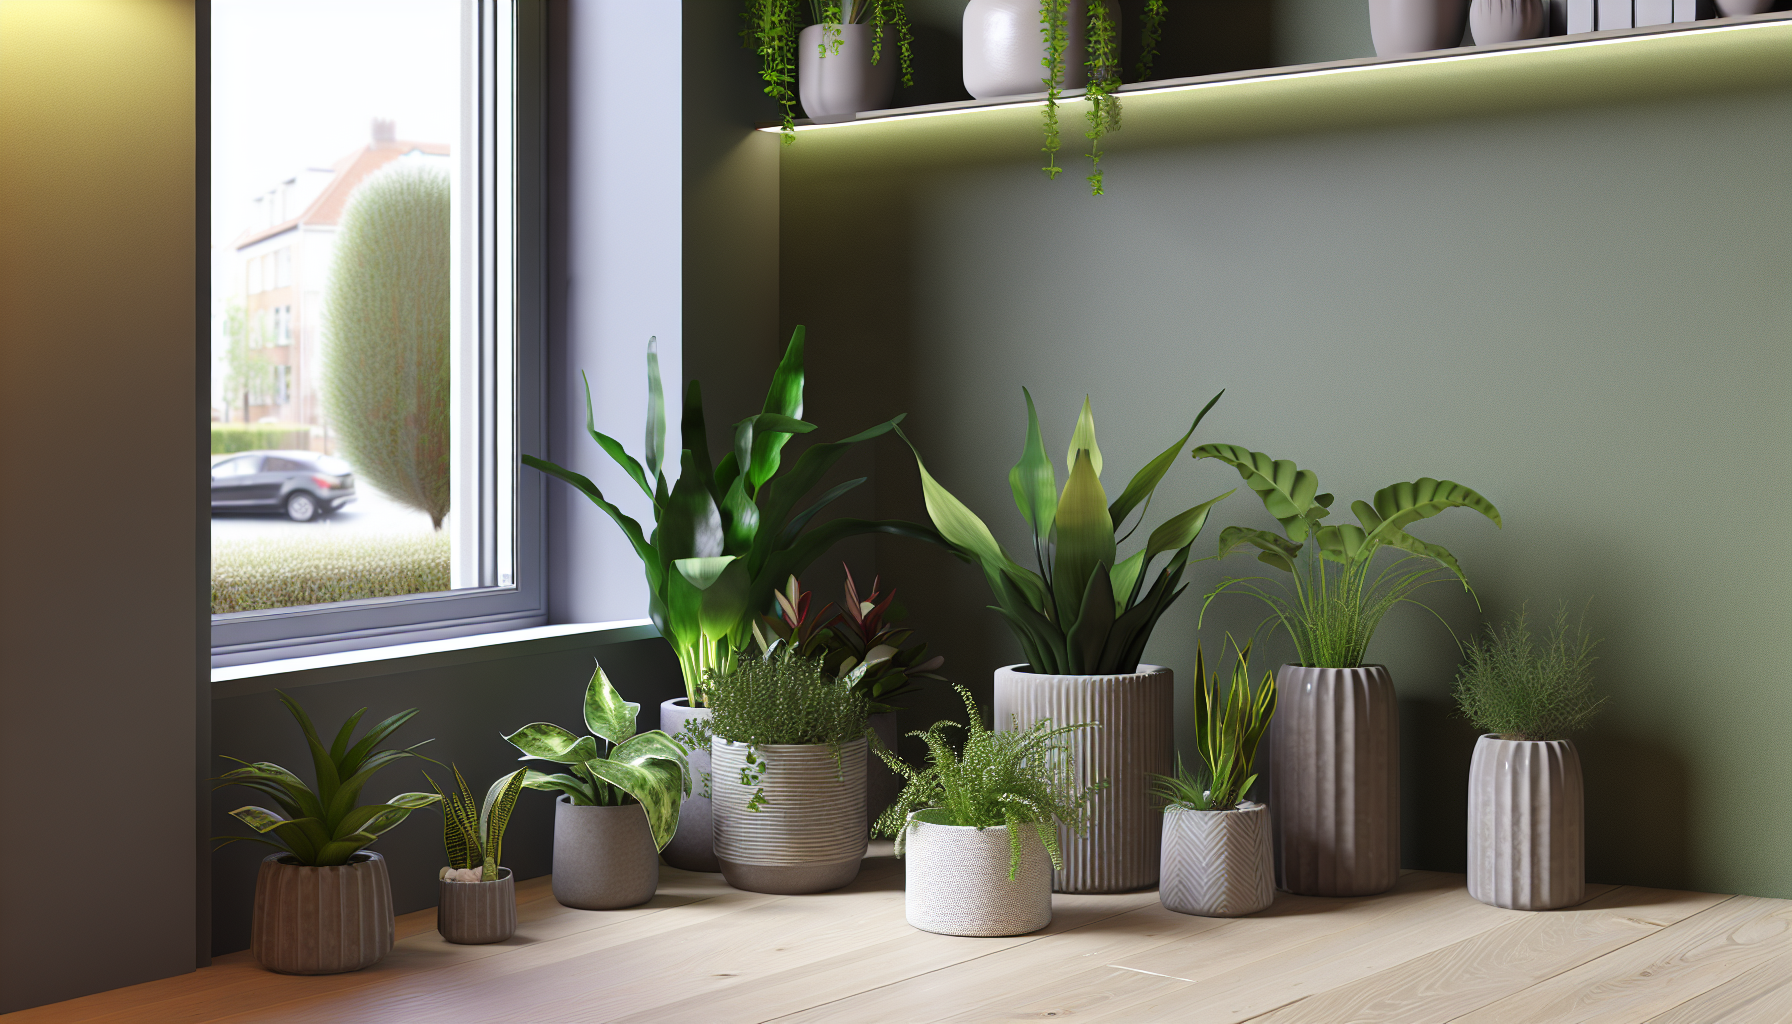
- Pothos (Epipremnum aureum): excellent for low to bright indirect light; tolerates imperfect watering; thriving as a hanging or climbing plant.
- Snake plant (Sansevieria): highly drought-tolerant; survives neglect; great for beginners and low-light corners.
- ZZ plant (Zamioculcas zamiifolia): resilient, with glossy leaves; handles dry air and infrequent watering well.
- Spider plant (Chlorophytum comosum): forgiving with consistent moisture; loves bright but indirect light and children-friendly.
- Philodendron varieties: adaptable to varied light; fast-growing and visually calm with heart-shaped leaves.
- Peaceful, compact varieties like calathea or peperomia offer texture without demanding setups, ideal for starting groups.
When choosing, consider potting mix, drainage, and a simple care routine that you can repeat weekly. A few well-chosen plants in the right spots can anchor a room and create the cozy vibe you’re after without feeling overwhelming.
Light, humidity, and temperature: the trio of care
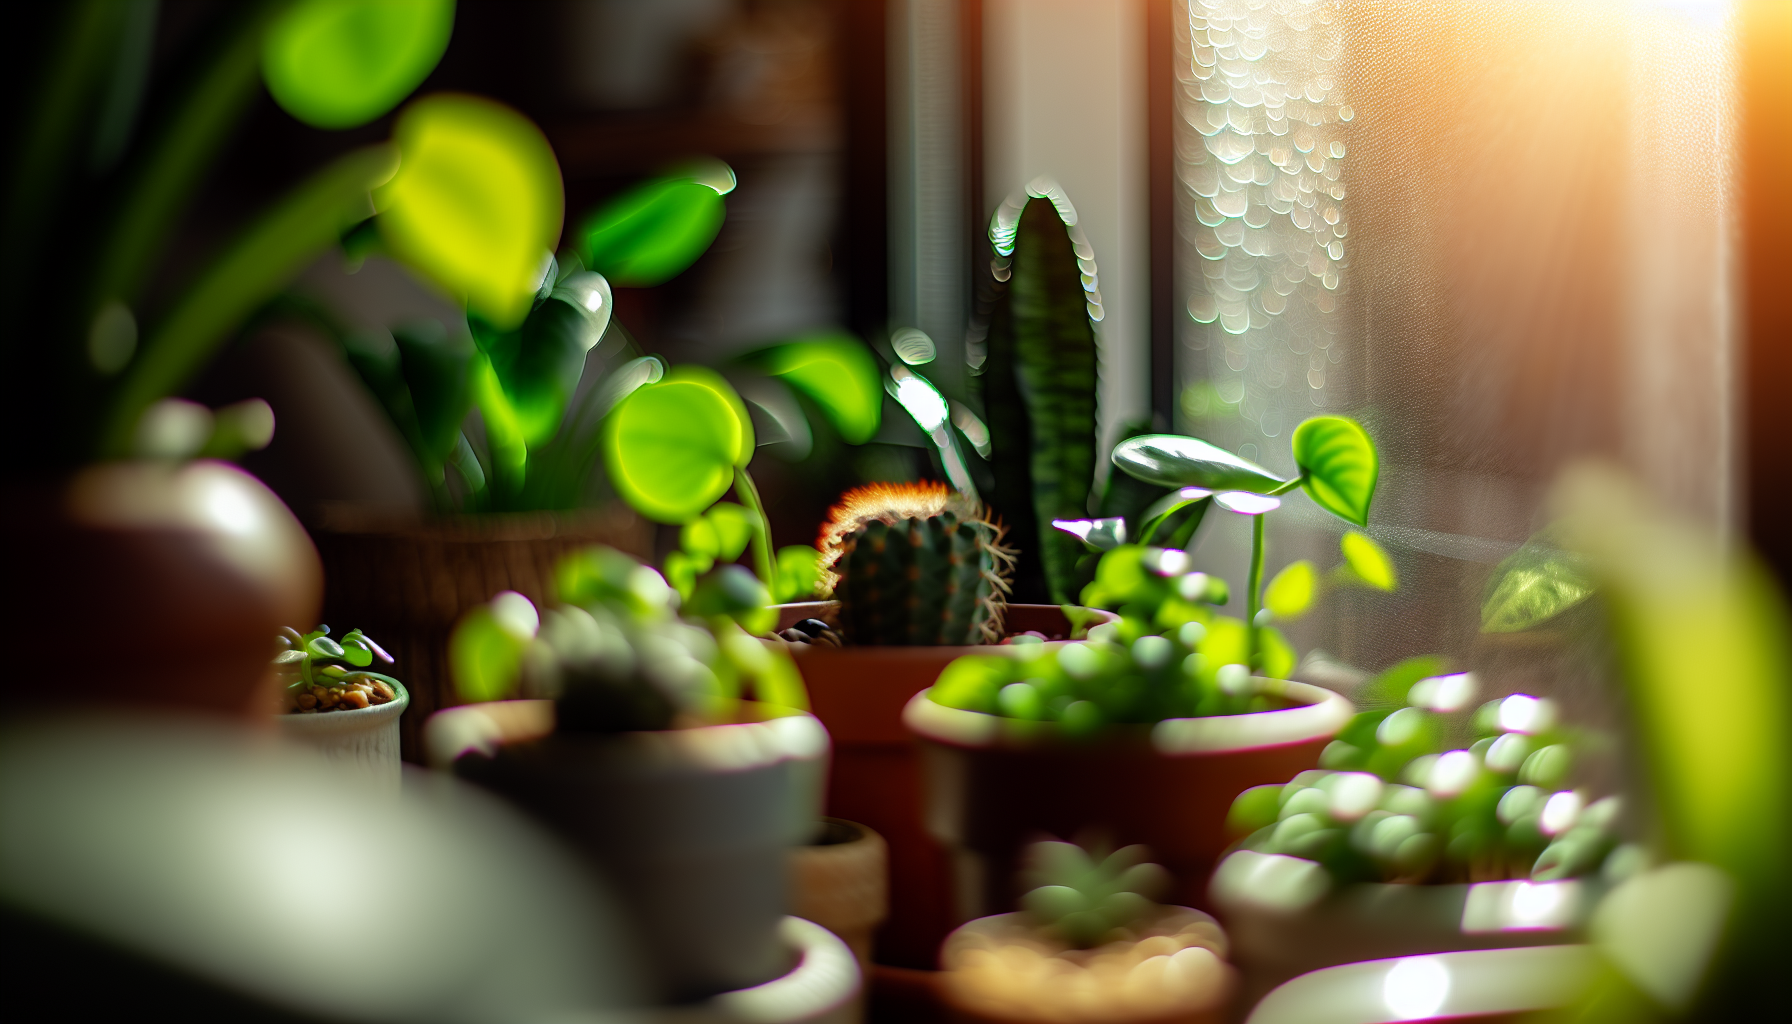
Plants don’t just sit in space; they respond to the environment around them. Understanding light, humidity, and temperature helps you predict how a plant will behave and what adjustments are needed. In cozy homes, this trio often defines success more than any specific species. You’ll want to map each plant to its preferred light level, manage humidity in rooms with dry air, and maintain a stable temperature that avoids drafts.
- Light: prioritize bright indirect light for most tropicals; low-light plants can survive in dim corners but will grow slower.
- Humidity: group plants, use pebble trays, or employ a humidifier in drier rooms to prevent leaf edge browning.
- Temperature: keep indoor temps between 60–75°F (16–24°C); avoid sudden drafts from windows or doors.
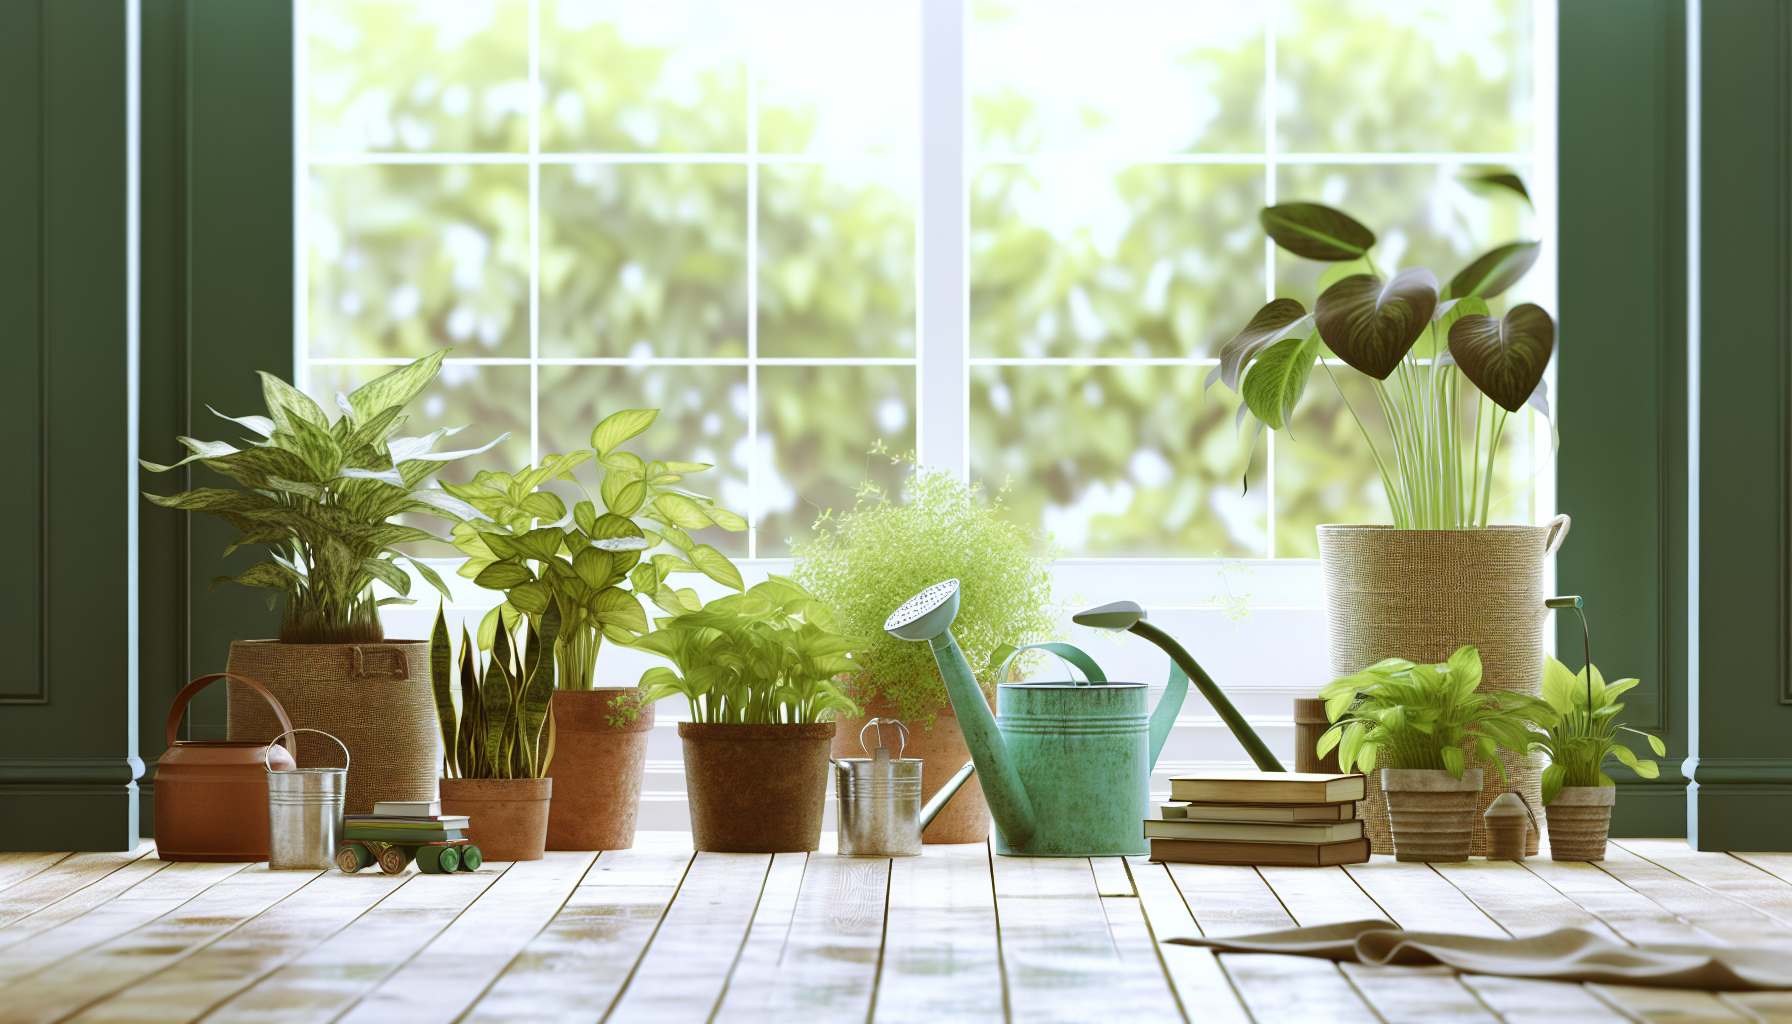
Watering should align with light and temperature: when top inch of soil is dry for most species, it’s usually time to water. Adjust frequencies in winter when growth slows. Clean leaves periodically to maximize photosynthesis and deter pests, and rotate pots to promote even growth. Thoughtful placement—like grouping plants on a shelf or near a window seat—can create microclimates that feel intimate and cozy rather than clinical.

Beginner-friendly species and how to care for them
Having a dependable set of starter plants reduces overwhelm and keeps your goals in sight: easy maintenance, steady growth, and a welcoming look. This chapter dives into practical care routines for each beginner-friendly species, translating general advice into concrete steps you can follow weekly, monthly, and seasonally. You’ll learn how to identify common issues early, adjust watering and light as plants grow, and propagate modestly to expand your collection without a steep learning curve. By focusing on a few reliable performers, you’ll quickly build confidence and enjoy the rewarding experience of nurturing living decor that grows with you.
- Pothos: water when the top inch of soil dries; tolerate various light levels; trim leggy vines to encourage fullness.
- Snake plant: allow soil to dry completely between waterings; thrives in bright indirect light or low light; blemishes usually indicate overwatering.
- Spider plant: keep evenly moist during growing season; bright indirect light helps offsets form; rotate to keep even growth.
- ZZ plant: drought-tolerant; water sparingly; prefers bright indirect light but tolerates lower light; avoid overwatering to prevent root rot.
- Peace lily (Spathiphyllum): handles lower light; keep soil lightly moist and mist occasionally for humidity; blooms add a gentle elegance.
As you care for these, observe how they respond—new leaves, growth rate, and color changes signal if you’re on the right track. With routine checks, you’ll gain a reliable sense of when to water, prune, or rotate, turning plant care from a guess into a practiced habit that supports a cozy home aesthetic.
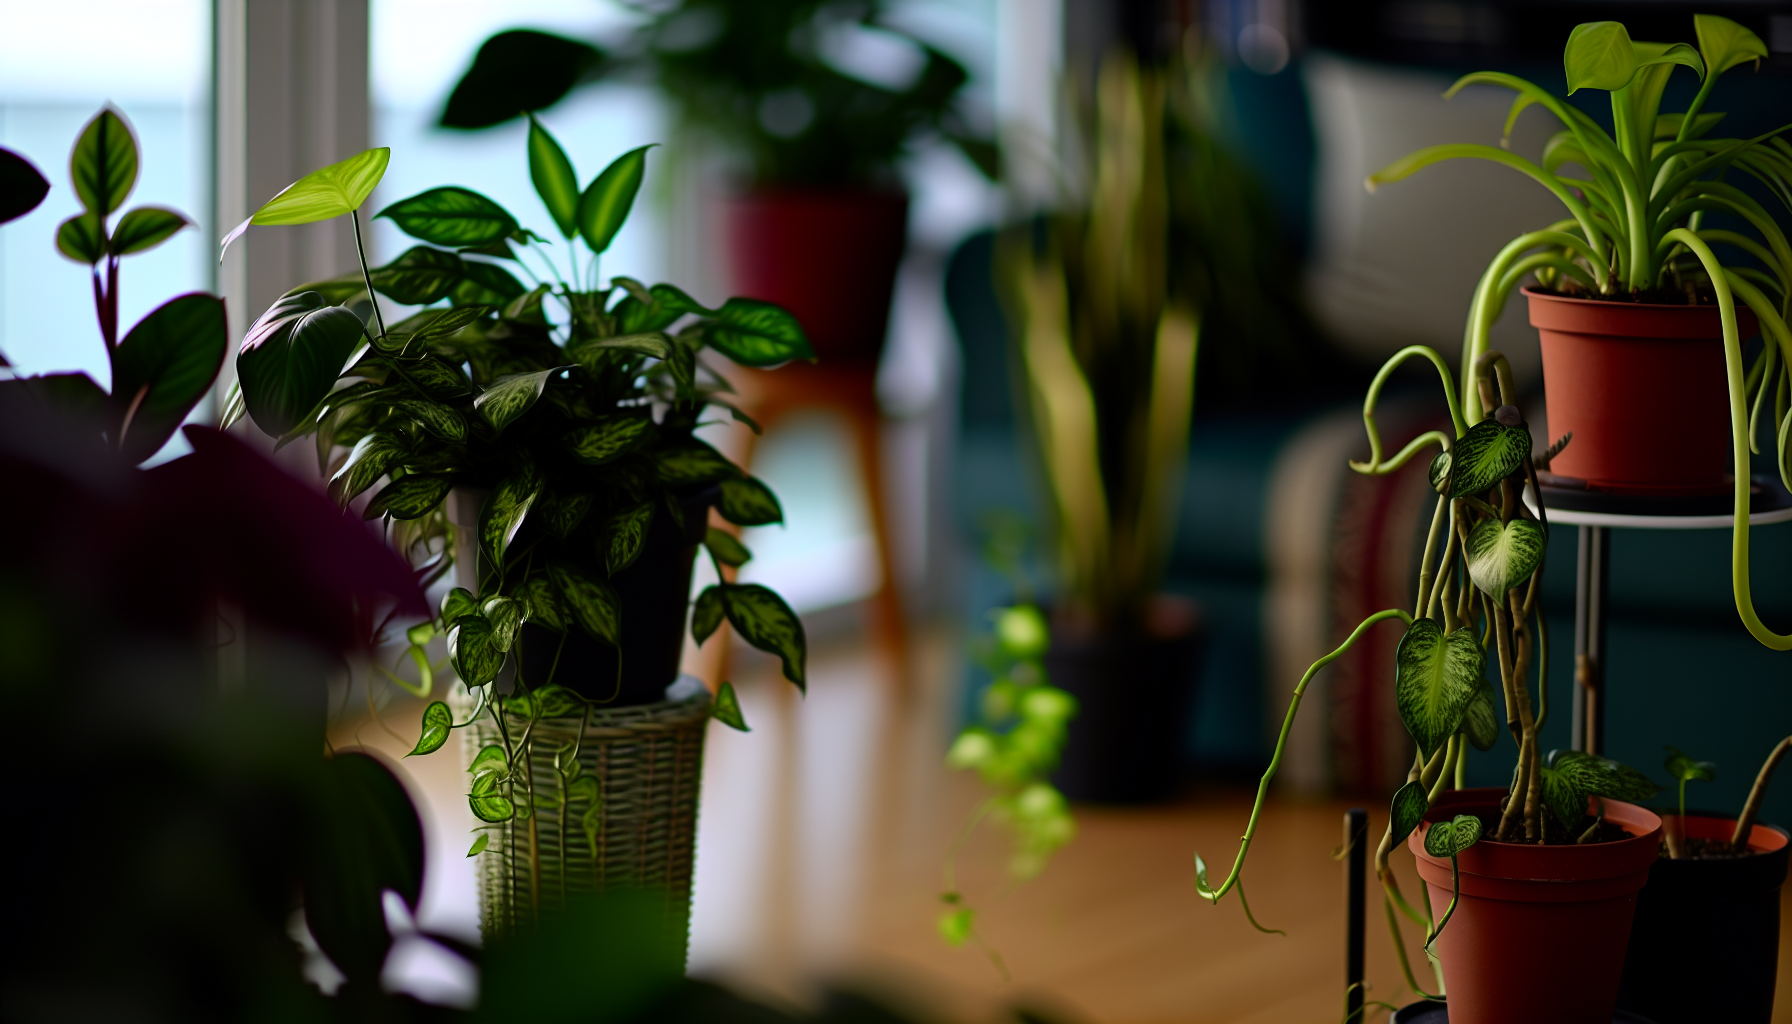
Styling and maintenance for lasting coziness
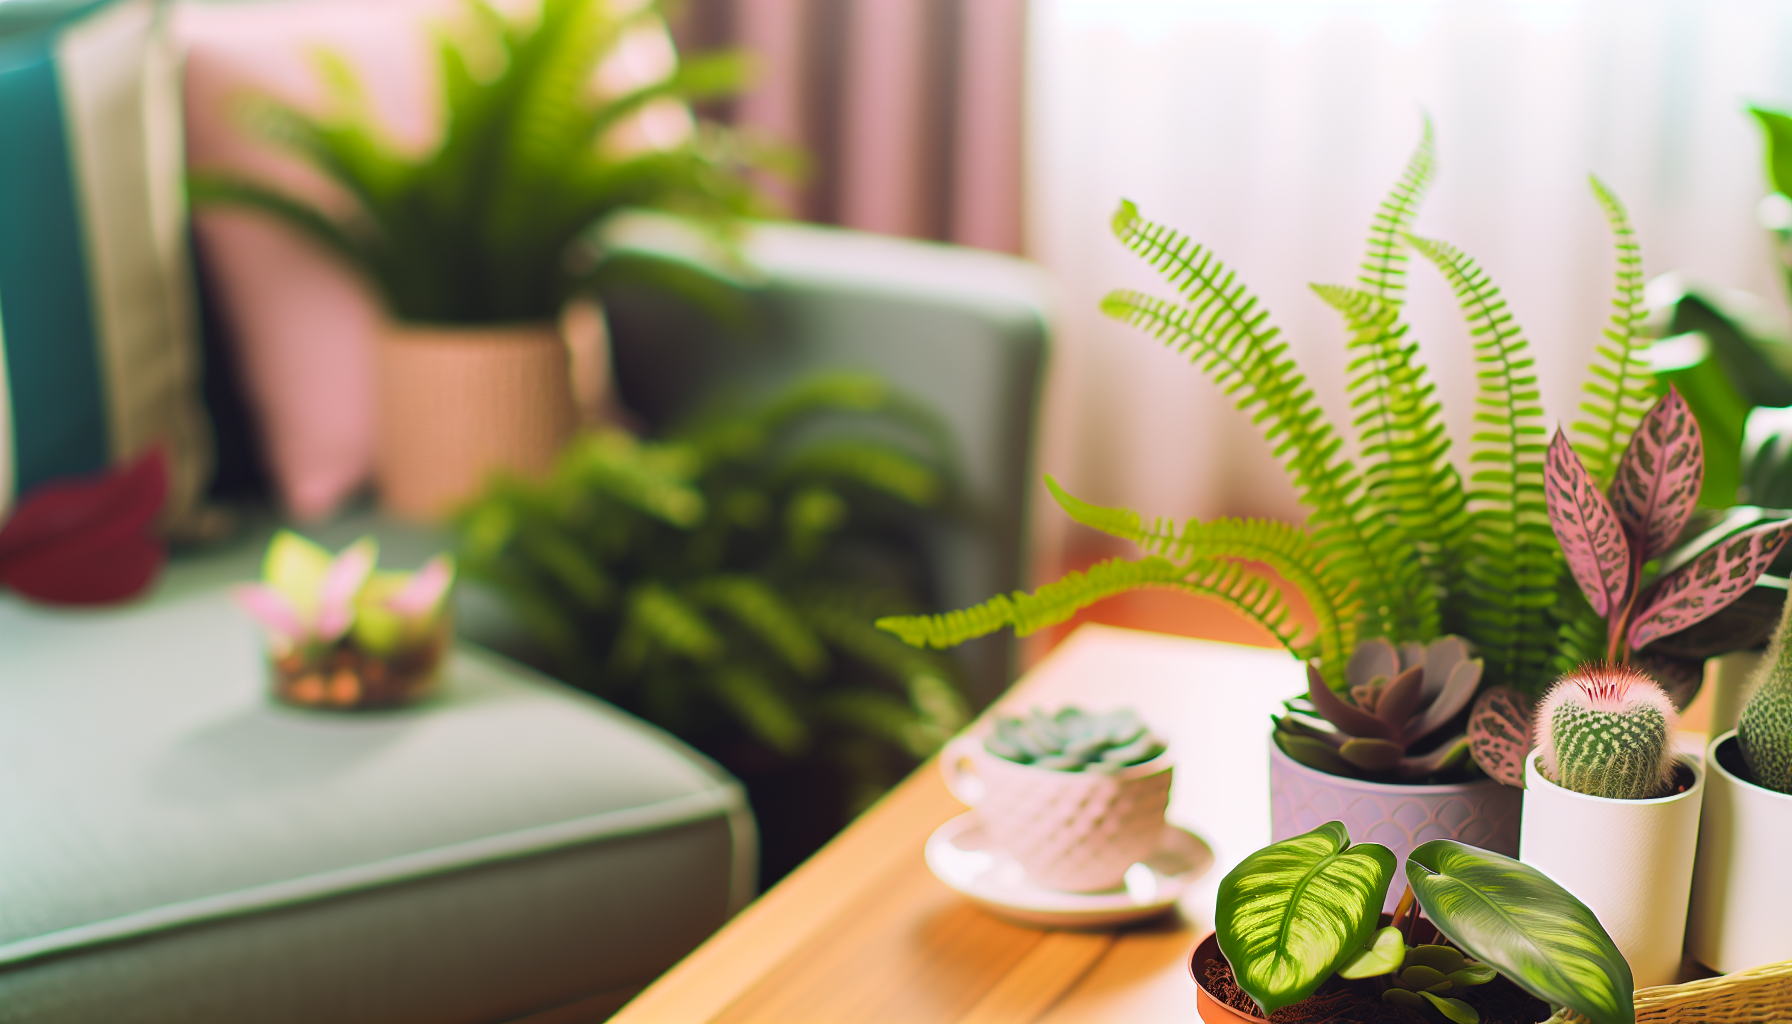
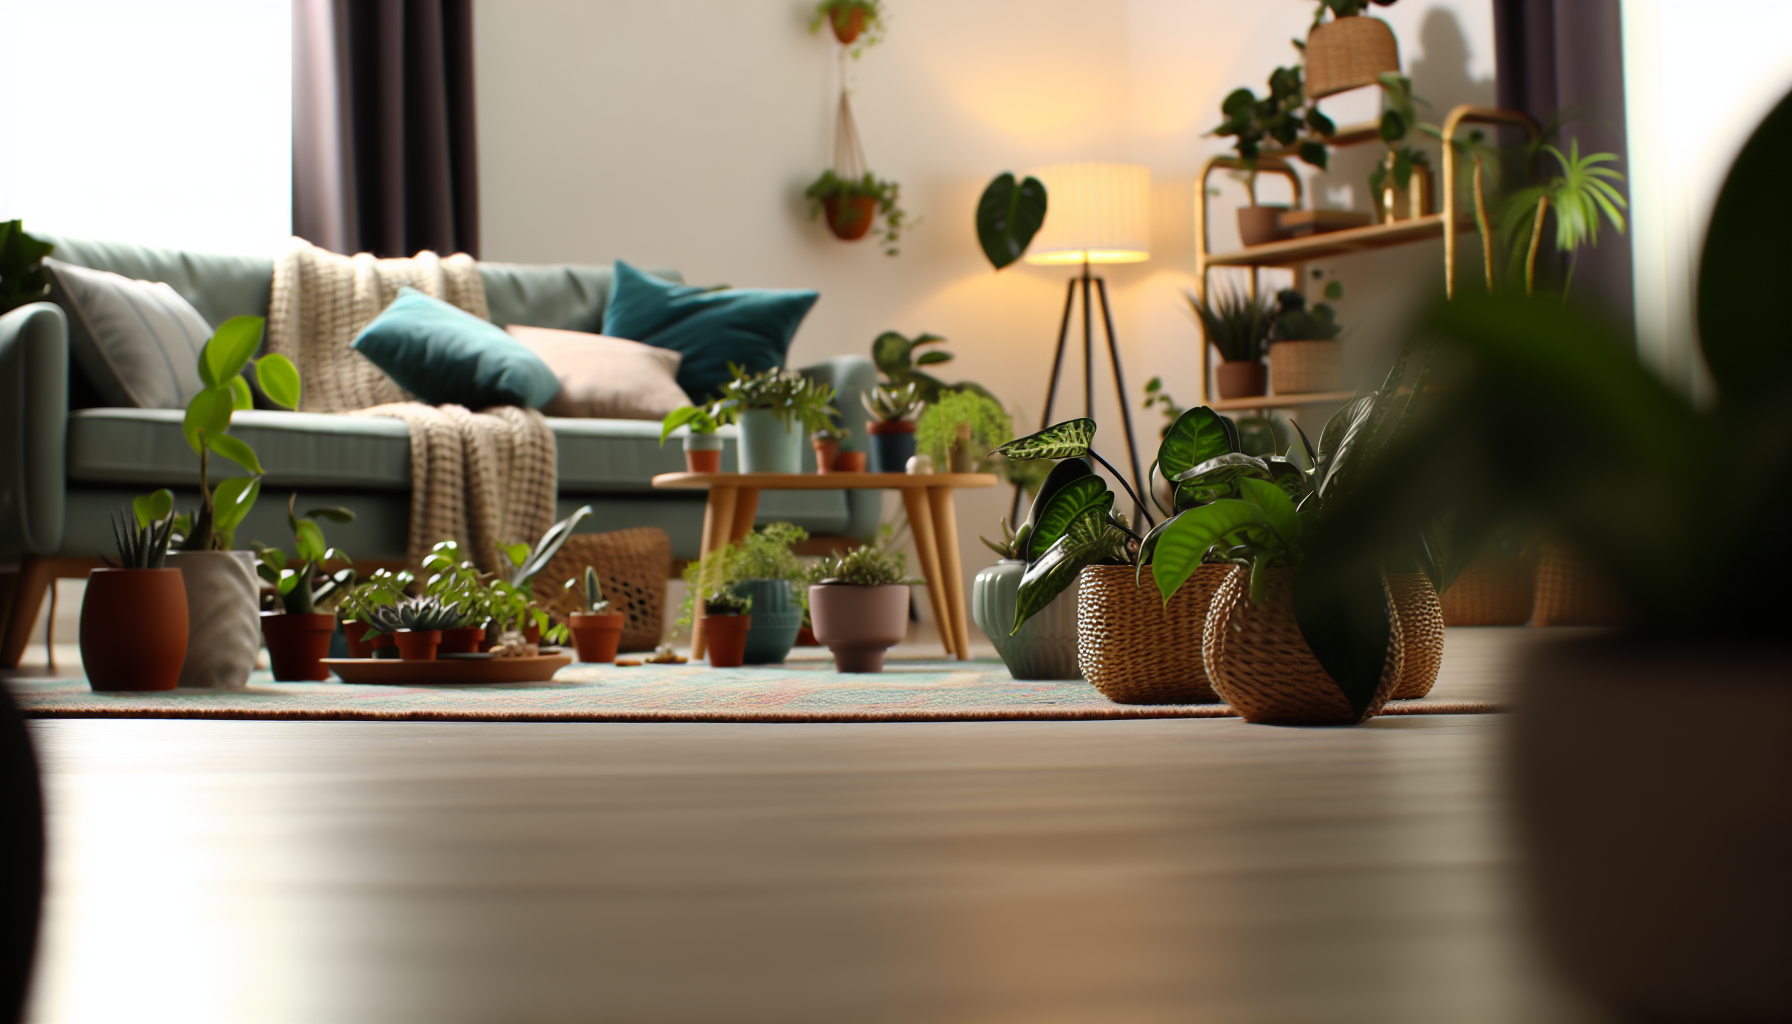
Style and maintenance marry function with mood. A cozy home benefits from thoughtful groupings, varying plant heights, and cohesive pot choices that complement your interior palette. Design your greens like a living vignette: place taller plants at the back, trailing varieties along shelves, and compact specimens on coffee tables or mantels. Use planters with natural textures—stone, ceramic, terracotta—to reflect warmth, and consider a recurring care rhythm: weekly light cleaning of leaves, monthly soil checks, and seasonal repotting as plants gain size. Regular maintenance prevents clutter, reduces pest risk, and keeps the space feeling calm and inviting. The result is a greener home that remains easy to live with, season after season.
In conclusion, cozy homes with houseplants are built on selecting forgiving varieties, understanding light and humidity, embracing beginner-friendly care, and styling with intention. Start small, establish a simple routine, and gradually expand your collection as you learn what each space can sustain. With patience and consistency, you’ll create a soothing, vibrant environment that remains delightful rather than daunting. Your plants will reward you with healthier growth, cleaner air, and a daily sense of comfort—proof that a well-planted home truly feels like a warm hug.