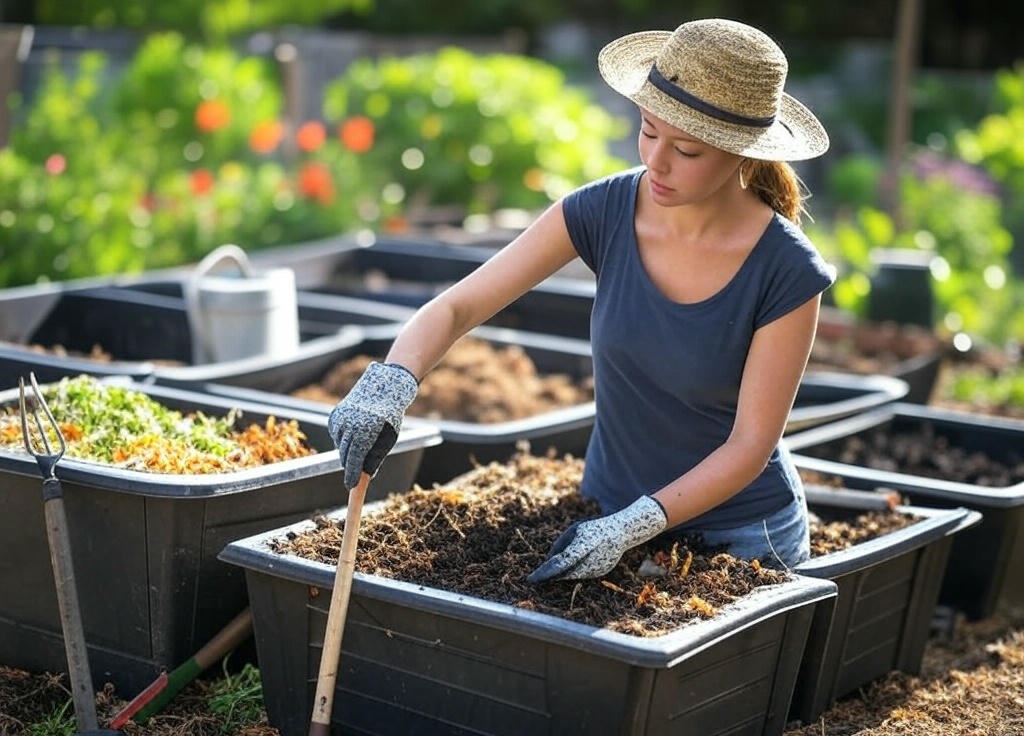
Composting is an easy, sustainable way to recycle organic waste and create rich, nutrient-packed soil for your garden. By turning kitchen scraps and yard waste into compost, you can reduce landfill waste and improve soil health. Here’s how to create a DIY compost system that’s simple and effective.
Why Composting is Important
Composting benefits the environment by:
- Reducing Waste: Diverting organic waste from landfills helps reduce the amount of trash that decomposes in a landfill, creating harmful methane gases.
- Improving Soil Health: Compost enriches the soil by adding essential nutrients, improving drainage, and increasing water retention.
- Supporting Plant Growth: The nutrients in compost feed plants and encourage strong, healthy growth.
What You’ll Need
- Compost Bin: You’ll need a container or bin to hold your compost. There are several options for DIY compost bins, depending on your space and preference:
- Wooden Box: Build a simple frame with wooden pallets or scrap wood to create a compost bin. Make sure the bin is open on the sides for air circulation.
- Plastic or Metal Bin: Use a plastic storage container or a metal trash bin with holes drilled for ventilation.
- Compost Pile: If you have plenty of space, you can start a compost pile directly on the ground, though this option is less contained and can attract pests.
- Aeration Tools: Oxygen is essential for the composting process. A garden fork, shovel, or compost turner will help you mix the compost regularly, ensuring air reaches all parts of the pile.
- Moisture: You’ll need a water source to keep the compost moist, but not soaking wet. A garden hose, watering can, or spray bottle will work fine.
- Organic Materials: These are the key ingredients for composting. You’ll need a mix of:
- Greens (Nitrogen-Rich Materials): These include food scraps like vegetable peels, coffee grounds, grass clippings, and fresh plant trimmings. Greens are rich in nitrogen, which helps microbes break down the material.
- Browns (Carbon-Rich Materials): These include dried leaves, straw, cardboard, wood chips, and newspaper. Browns help balance moisture and provide carbon, which fuels the microorganisms in the compost pile.
Steps to Create a DIY Compost System
- Choose a Location Select a location for your compost bin or pile that’s well-ventilated and away from direct sunlight. A spot in the shade will help keep the compost from drying out too quickly, while still allowing for airflow.
- Start with a Layer of Browns Begin by placing a layer of browns (like dry leaves or straw) at the bottom of your bin or pile. This layer helps with drainage and provides a base for air to circulate.
- Add Greens Add a layer of greens, such as vegetable scraps or fresh grass clippings. Aim for a balance of 1 part green to 3 parts brown material. A good rule of thumb is to mix the materials as you go, so that the pile remains balanced.
- Alternate Layers Continue layering greens and browns, ensuring that each layer is about 3–4 inches thick. Keep alternating layers as you add more material over time. This layering process helps maintain the right carbon-to-nitrogen ratio and allows the compost to break down efficiently.
- Moisten the Pile Make sure your compost pile stays moist, similar to a wrung-out sponge. If it starts to dry out, add water. If it’s too wet, add more dry materials like leaves or shredded cardboard to absorb the excess moisture.
- Turn the Compost Regularly Turn your compost every few weeks to mix up the materials and allow air to circulate. Aeration speeds up the decomposition process and helps prevent odors. Use a garden fork, shovel, or compost turner to mix the pile thoroughly.
- Monitor Temperature and Moisture A healthy compost pile will generate heat as it breaks down. If it feels cool or isn’t decomposing quickly, try turning it more often or adding more green material. If it’s too hot or has a strong odor, it may need more brown material or better aeration.
- Wait for Compost to Mature Over time, the compost will break down into dark, crumbly material that smells earthy. This process can take anywhere from a few months to a year, depending on the size of the pile and how often it is turned. You’ll know the compost is ready when it looks like rich, dark soil and no longer resembles the original materials.
How to Use Your Finished Compost
Once your compost is ready, you can use it in several ways:
- Soil Amendment: Mix compost into your garden soil to improve texture, fertility, and moisture retention.
- Mulch: Spread compost around your plants to help retain moisture, suppress weeds, and add nutrients.
- Potting Mix: Add compost to potting soil for indoor plants to provide extra nutrients.
Final Tip
Composting is a simple, effective way to recycle organic waste and create nutrient-rich soil for your garden. By starting a DIY compost system, you’ll reduce waste, improve your soil, and grow healthier plants. Remember to balance greens and browns, keep your pile moist, and turn it regularly for the best results. Happy composting!

Leave a Reply